
Dairy-Free Lavender Honey Ice Cream

Nothing says nostalgia quite like home churned ice cream. It is one of summer’s greatest joys and a great way to bring kids of all ages together. Guaranteed to spark joy, even the hottest day feels a whole lot cooler with a frozen treat in hand.
Trying to enjoy as much of cherry season as possible, we recently took a trip to Hood River. We bought several bags of plump, juicy cherries that were sweeter than any we’ve had so far, and couldn’t go home without cherry cider, which we know from experience is worth the trip on it’s own. As we wound our way back to the highway, we made a stop at the Hood River Lavender Farm. The fields were full of lavender, blooming at its fragrant peak under the hot afternoon sun. You could walk along the long pristine rows and get heady just breathing in the relaxing aroma. If you were so inclined, they had lavender honey ice cream, and the refreshing purple scoops were being enjoyed by more than a few visitors. I have been dairy-free for several months now, so peeking at the menu was all I could do. But I remembered saving an article about making dairy-free ice cream, and once I returned home I couldn’t wait to try making some of the lavender honey ice cream that I missed.
I used Califia Farms Unsweetened Almond Milk and also tried using their French Vanilla Almond Milk Creamer. You can use 3 cups of almond milk instead, and skip the creamer if you like, but using it does help to make non-dairy versions richer. If you are using a vanilla flavored dairy-free milk, skip adding the vanilla extract. The creamer has 3 grams of added sugar, so I only used 1/4 cup of honey, making use of the big canister of powdered honey I purchased a few months ago. It gave the finished ice cream a nice honey flavor and didn’t alter the consistency, 1/4 cup lending just the right amount of sweetness.
I found culinary lavender in the spice section at Fred Meyer. This was the fastest way to assure it was the right variety (English), free of pesticides, and ready to use for cooking. While it did infuse the ice cream with a blissful fragrance, it didn’t tint it that lovely purple hue. If you want truly deep purple, go for the food coloring, but because I wanted to keep this as healthy as possible, I used blackberry juice. To do this, combine 1/2 cup fresh blackberries and 2 tablespoons water in a small blender or food processor and purée until mostly smooth. Transfer to a fine mesh strainer and press with the back of a spoon to squeeze the juice into your finished base before refrigerating.
Plan to make your ice cream base a day ahead, or at least early in the day, so that it has plenty of time to cool. Enjoy your ice cream the same day you make it. I felt like my ice cream needed a little extra firming, so I gave it another hour in the freezer. The recipe warned that if it freezes longer than 2 hours, it will form ice crystals. I checked this on some portions I had frozen and they were hard as a rock (but still delicious!) the next day.
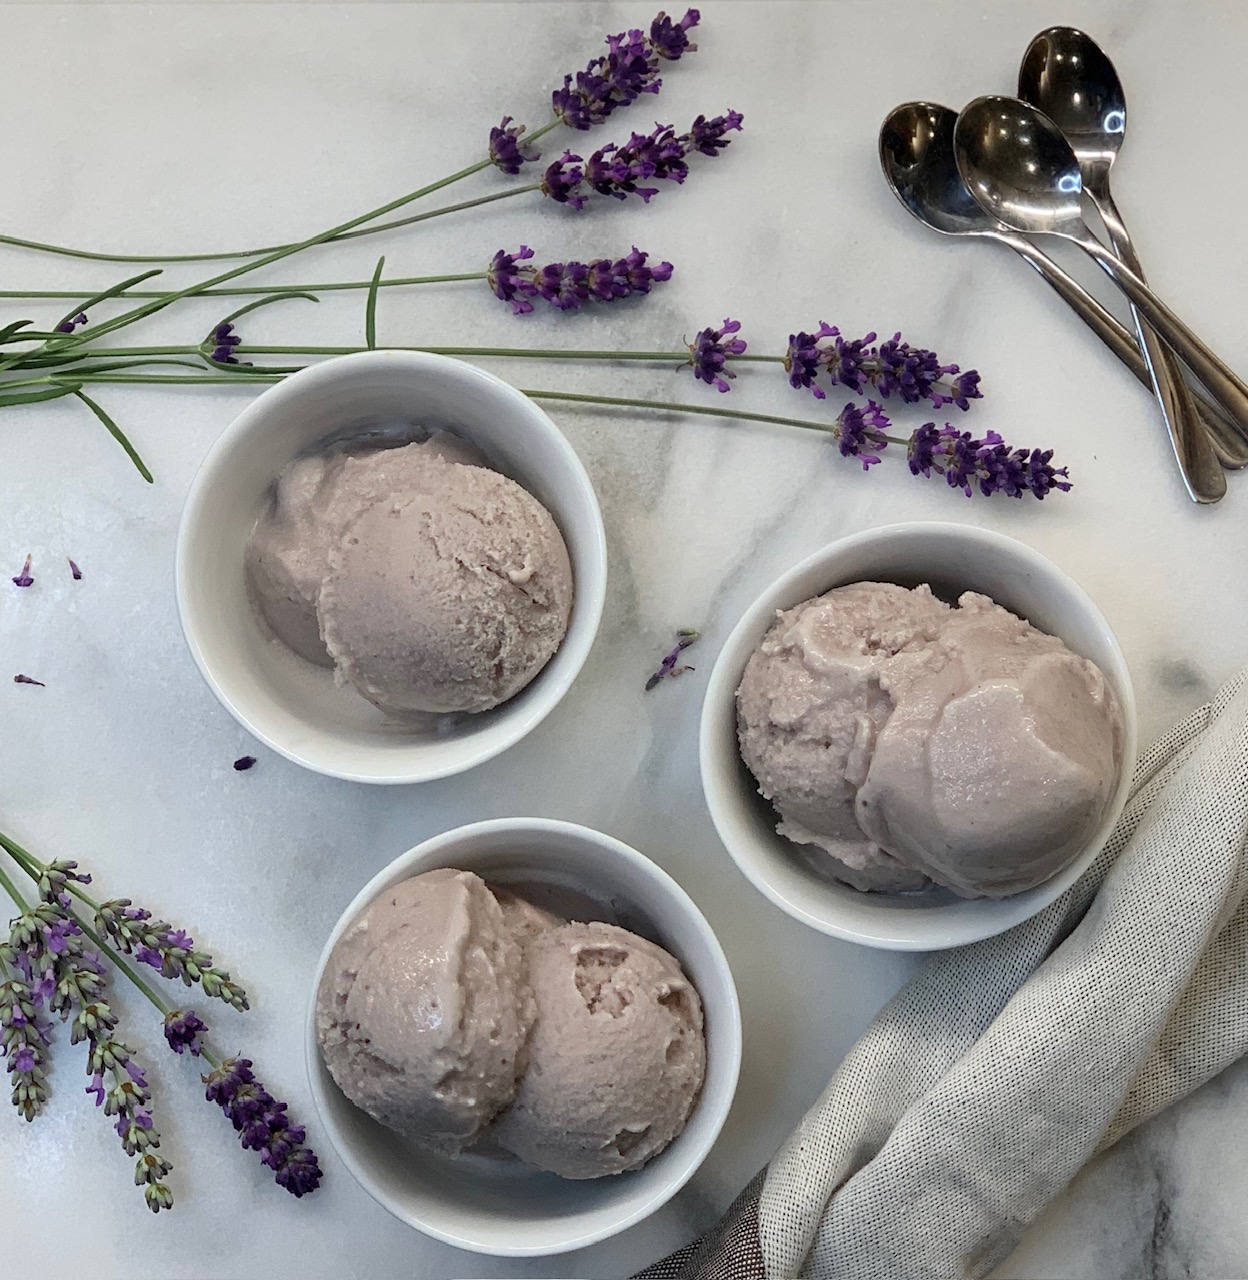
The finished ice cream was a little softer than I’d like, which tends to be the case with homemade varieties, dairy free or not. But the fresh, wholesome taste more than made up for this, not to mention the fact that I was able to eat it because it was sans dairy. I ate a few sweet spoonfuls – light and creamy, lavender-scented bliss! I plan to make another batch, adding 1/2 teaspoon of xanthan gum, which is supposed to help create a creamier, thicker texture.
You can also try using other plant-based milks. For the most low-maintenance option, use canned coconut milk. Because it’s closest to full fat dairy, it will give you the most similar mouth-feel, and it doesn’t require any thickening agents. But if you want something a little lighter, or maybe don’t want the coconut flavor, you can use shelf stable cartons of other non-dairy milk. For this less rich option, you will need to create a custard base over the stovetop using a thickener (cornstarch or arrowroot) to help get the texture right, and add a little olive oil to help emulsify, so your mixture will churn smoothly.
Whatever you choose, spark some joy and make homemade ice cream this summer.
Dairy-Free Lavender Honey Ice Cream
- 2 cups almond milk
- 1 cup almond creamer
- 2 Tablespoons olive oil (or neutral oil like grapeseed)
- 1 teaspoon vanilla extract
- 1/4 teaspoon salt
- 2 Tablespoons dried culinary lavender
- 1/4 – 1/2 cup honey
- 2 1/2 Tablespoons cornstarch (or arrowroot)
Combine milk, creamer, olive oil, vanilla extract, salt, lavender, and honey in a medium saucepan and whisk together. Bring mixture to an almost-simmer (it should be scalded, jiggling at little at the surface, but not bubbly) over medium-low heat. Dissolve 2 1/2 tablespoons cornstarch in 2 tablespoons water; whisk until smooth, then add to ice cream base. Reduce heat to low and continue stirring for 2-3 minutes, or until mixture has thickened enough to coat the back of a spoon.
Using a fine-mesh sieve set over a bowl, strain the lavender cream and discard the solids. Cover and refrigerate, allowing it to cool at least 4 hours (or overnight). Transfer base to a prepared ice cream maker and follow the manufacturer’s instructions, processing about 15-20 minutes. Enjoy as is, or transfer to a freezer-safe covered container and freeze another 1-2 hours.
Coconut Milk Ice Cream
- 2 13.5-ounce cans full-fat coconut milk
- 1/2 cup cane sugar
- 1/4 teaspoon fine salt
- 1 teaspoon vanilla extract
Shake cans of coconut milk well, then open add add contents to your blender. Add sugar, salt, and vanilla extract and blend for at least 1 full minute. Transfer mixture to fridge for a minimum of 30 minutes, but 1 hour is best.
Transfer base to a prepared ice cream maker and follow manufacturer’s instructions (about 25-30 minutes). Ice cream should be easy to scoop once churned, but can be chilled for 1-2 hours prior to serving to firm up.
-food52.com
Non-Dairy Milk Ice Cream
- 3 cups unsweetened non-dairy milk* or
- 2 cups unsweetened non-dairy milk plus 1 cup unsweetened non-dairy creamer
- 2 Tablespoons olive oil (or neutral oil like grapeseed)
- 1 teaspoon vanilla extract
- 1/4 teaspoon salt
- 1/2 cup sugar
- 2 1/2 Tablespoons cornstarch (or arrowroot)
In a medium saucepan, whisk together milk, creamer (if using), olive oil, vanilla extract, and salt. Add 1/2 cup of sugar; bring mixture to an almost-simmer (it should be scalded, jiggling at little at the surface, but not bubbly) over medium-low heat. Dissolve 2 1/2 tablespoons cornstarch in 2 tablespoons water; whisk until smooth, then add to ice cream base. Reduce heat to low and continue stirring for 2-3 minutes, or until mixture has thickened enough to coat the back of a spoon.
Transfer mixture to a bowl; cover and refrigerate, allowing it to cool at least 4 hours (or overnight). Transfer base to a prepared ice cream maker and follow the manufacturer’s instructions, processing about 15-20 minutes. Enjoy as is, or transfer to a freezer-safe covered container and freeze another 1-2 hours.
*soy, cashew, almond, macadamia, hemp, or coconut milk (from carton)
-food52.com
Donna Ferguson
I love to cook, garden, and write about all the things in Vancouver and the Northwest that make life so great.