
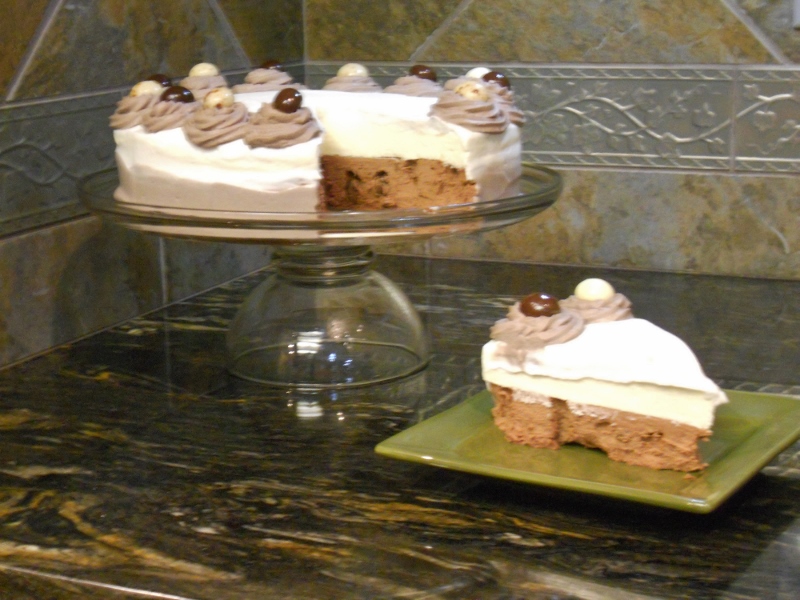
Triple Chocolate Espresso Mousse Cake
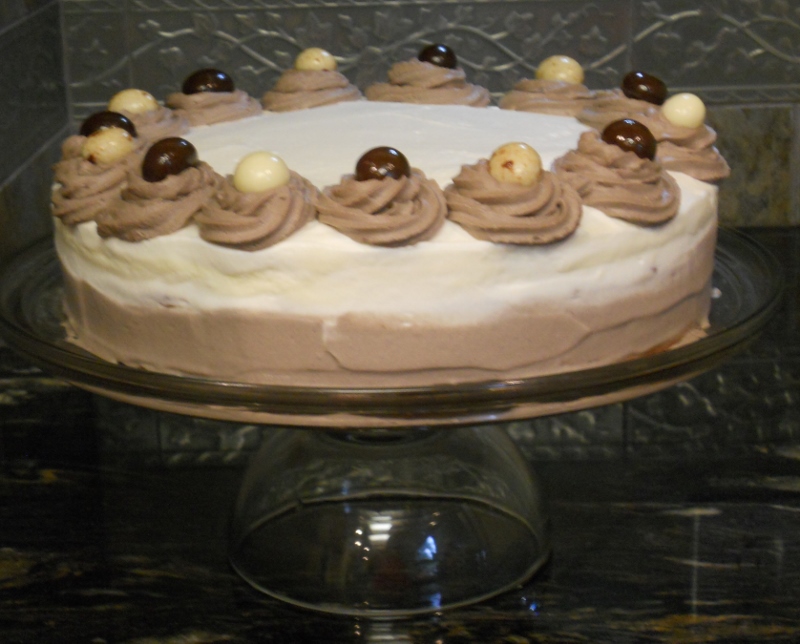
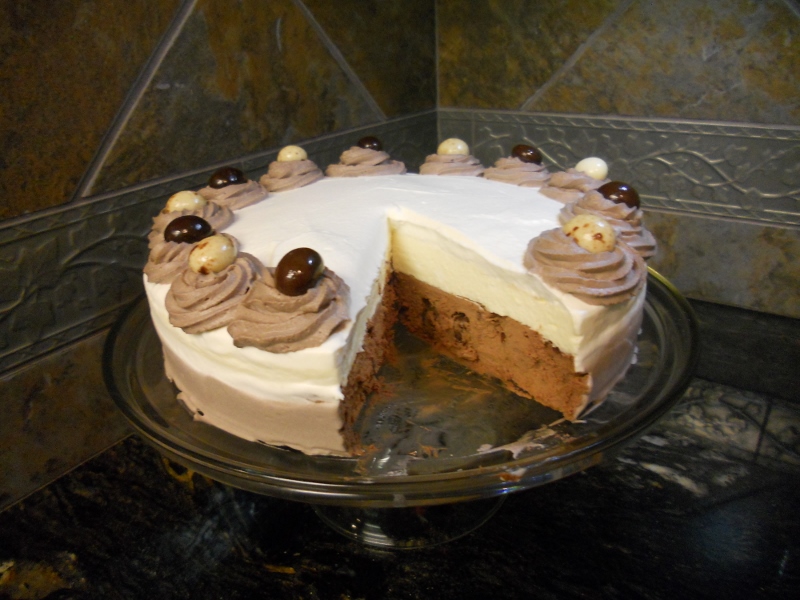
I should be honest. This cake is a master of disguise. It looks like a cake, is shaped like a cake, and is even frosted like a cake, but don’t be fooled. If you were to cut into it, you’d find a layered dark chocolate and white chocolate mousse. Remember when we were little and daydreamed about living on a chocolate cloud? Well, here’s basically a smaller version that you can store in your freezer. Satisfaction!
Since yesterday was Mothers’ Day, this cake was designed with my own mother in mind. She’s a big fan of anything chocolate (to put it lightly), yet her first love has always been coffee. When I ask her if she had to choose between coffee and chocolate, as in if she could only have one, she shouts, “I’d choose mocha!” So, granting unto her that wish, I decided to throw in chopped chocolate-covered espresso beans while also placing them on top. This gives the cake a wonderful crunch that offsets the prominent creaminess, while giving it a perfectly subtle coffee fragrance. And, to tie it all together, I iced it with a sweetened dark chocolate whipped cream. Mother dearest: this one’s for you.

The layers of this cake are born from a thick, rich cooked chocolate custard (admittedly: I could have just eaten that with a spoon). Afterward, it has giant pillows of whipped cream folded into it: the secret to its light, creamy airiness. This cake is perfect for a hot day or for when you don’t feel like eating a heavy dessert. Trust me, after the big, Mexican-style, Mothers’ Day dinner my family had, a traditional chocolate cake would have pushed us all over the edge and into a major food coma. Chocolate mousse cake: a much better, groan-free choice!
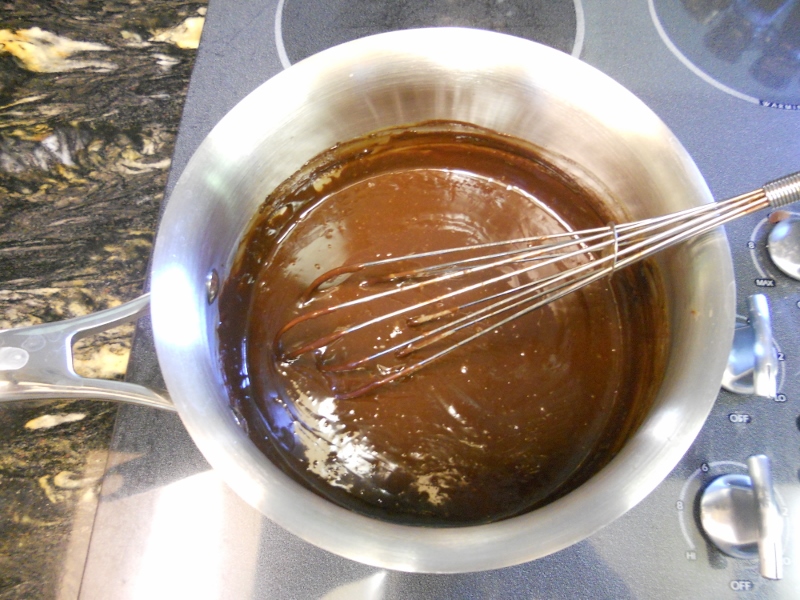
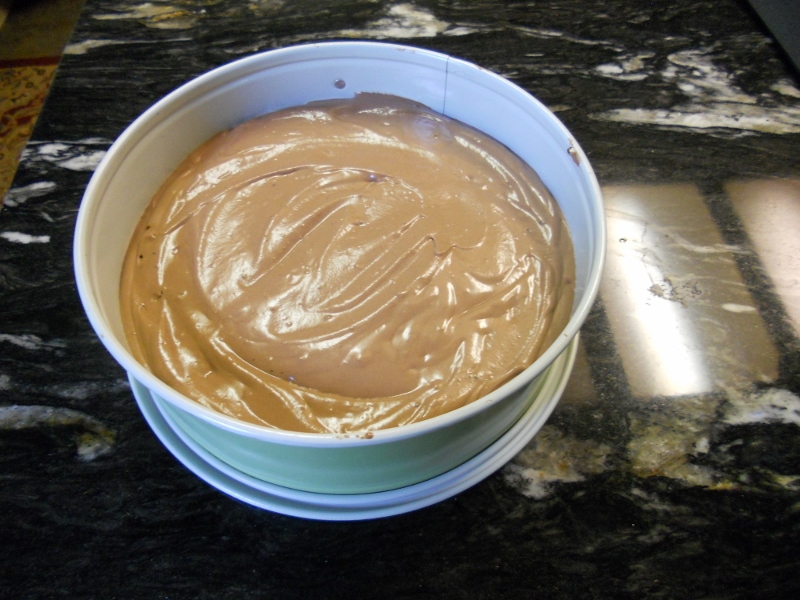
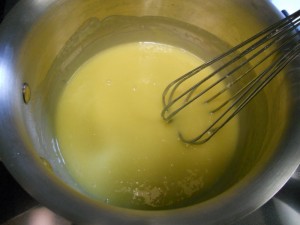
This cake was, surprisingly to me, quite easy to prepare. I recommend, however, that if you only have one 9-inch spring form pan instead of two, you should plan ahead and make it over the course of 2-3 days. Just make the dark chocolate layer first, freeze until firm, then remove it from the pan and place it back into the freezer on a plate until the white chocolate layer is ready. And, just so you know what the mousse base is supposed to look like, I included some photos of the cooking process. Finally, if you don’t have a taste for espresso beans, go ahead and omit them. The cake will still be a dream. . .
Triple Chocolate Espresso Mousse Cake
Yield: one 9-inch cake, serves about 12-14
Source: inspired by Sprinklebakes’ Spumoni Mousse Cake
Prep: 1 hour 15 minutes plus 5-6 hours freezing time
Dark Chocolate Layer: White Chocolate Layer:
1/4 oz. package powdered gelatin 1 tsp. powdered gelatin
2 tbsp. cold water 2 tbsp. cold water
3 egg yolks, at room temperature 2 egg yolks, at room temperature
1/2 cup sugar 1/4 cup sugar
1/2 cup half n’ half 1/4 cup half n’ half
8 oz. high quality dark chocolate 5 oz. high quality white chocolate
1 tsp. vanilla extract 1 cup heavy whipping cream
24 chocolate-covered espresso beans, chopped
1 1/2 cups whipping cream
For the dark chocolate layer
1. Lightly grease the bottom and sides of two 9-inch spring form pans. Line the bottoms with a parchment paper round. Set aside.
2. Place the 2 tbsp. cold water in a medium saucepan and sprinkle gelatin over water. Let stand for 1 minute. Add egg yolks and sugar; mix until well-combined and light yellow. Stir in half n’ half. Cook over medium heat, whisking constantly. Cook until thickened considerably, 7-10 minutes. When done, it should be thick enough to coat the back of a spoon. Remove from heat; whisk in vanilla extract. Stir in chopped dark chocolate and blend with a whisk until chocolate has melted and has an even color. Let cool.
3. When mixture is cooled to just barely warm, stir in chopped espresso beans.
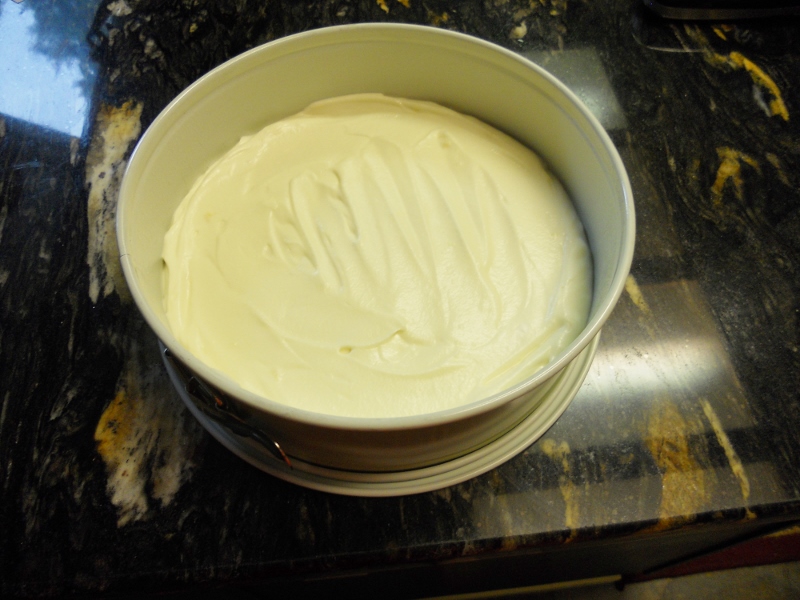
4. In the bowl of a stand mixer fitted with the whisk attachment, whip cream until stiff peaks form. Gently fold whipped cream into the cooled dark chocolate mixture until well blended. Pour into a prepared spring-form pan and level the top with a rubber spatula. Pick up and drop the pan once or twice to settle any gaps that may have been created when the mixture was poured. Place in freezer and freeze until firm. Wash and dry your saucepan, bowl, spatula, whisk and beaters for the next layer.
For the white chocolate layer
1. Place the 2 tbsp. water in a medium saucepan and sprinkle gelatin over water. Let stand for 1 minute. Whisk in egg yolks and sugar. Stir in half n’ half. Cook over medium heat, whisking constantly. Cook until thickened considerably 5-7 minutes. When done, it should be thick enough to coat the back of a spoon. Remove from heat; stir in chopped white chocolate and blend with a whisk until chocolate has melted and has an even color. Let cool.
2. Whip cream until stiff peaks form. Gently fold whipped cream into the cooled white chocolate mixture until well blended. Pour into the remaining prepared spring-form pan and level the top with a rubber spatula. Pick up and drop the pan once or twice to settle any gaps that may have been created when the mixture was poured. Place in freezer and freeze until firm.
Dark chocolate whipped cream and assembly
1 1/2 cups heavy cream, divided
1/2 cup confectioners’ sugar, divided
1 tablespoon unsweetened dark cocoa powder
Whole chocolate-covered espresso beans
1. Remove pans of mousse from the freezer. Use a dish towel soaked in hot water then wrung dry to warm the outside of the spring-form collars and then gently unlatch and remove the collars. Turn the dark chocolate layer onto a serving platter or cake stand and peel off the parchment round. Stack the white chocolate layer on top of the dark chocolate layer and press down until layers are even. If you have gaps between the layers, use an off-set spatula to smooth the two layers together. Peel off parchment circle.
2. In the bowl of an electric mixer fitted with the whisk attachment, whip 3/4 cups of the heavy cream until soft peaks form, and then gradually add 1/4 cup of the confectioners’ sugar. Beat until stiff peaks form. Frost the upper half and top of the mousse cake with the white whipped cream.
3. Sift the remaining 1/4 cup confectioners’ sugar together with the cocoa powder onto a sheet of wax paper. While whipping the 3/4 cups of remaining cream, gradually feed in the sugar-cocoa mixture. Frost the bottom half of the cake with the chocolate whipped cream. Use an offset spatula to smooth the two colors together on the sides of the cake. Transfer remaining dark chocolate whipped cream to a piping bag fitted with a large star tip. Pipe chocolate whipped cream florets on the top outer edge of the cake. Place a chocolate-covered espresso bean in the center of each floret. Slice into pieces and serve frozen.
Kelcie Kromminga
Hi! I'm Kelcie and I've got a major passion for dessert! I started this blog to help share my love for crafting sweet, beautiful, and crazy-delicious treats. I find baking to be an outlet for my creative side that just so happens to also satisfy the unstoppable sweet tooth with which I was born (I get that from my dad's side). The recipes I create are designed to be easy, yet produce that impressive "Wow!" and "Yum!" factor. When I'm not baking, you'll probably find me either reading, writing, gardening, or spending way too much time on Pinterest. I hope my recipes will help you find your own inner merriment for all things fun, beautiful, and (of course) sweet!