Chiles rellenos bring up memories of friendship, Mexican potlucks

 For years, our friends Tony and Donna Freeman threw fabulous Mexican potlucks for about 30 people each time. I can’t tell you how much we enjoyed the feasts and how much we miss the parties. We still enjoy breaking bread with the Lake Oswego couple, but now we usually meet for lunch or an early dinner in a restaurant.
The other night I made chiles rellenos, and that triggered memories of the food and conversation from days past. For the potlucks, Tony and Donna would prepare sangria, rellenos and taquitos (“little cigars,” some wag called them), and the guests would swoop in and swoon over all three.

John, Janet and Ruben Cleaveland tuck into chiles rellenos and other dishes at the Freemans’ last Mexican potluck in 2004.
Those who attended brought the sides: refried and black beans, enchiladas, guacamole, fruit and green salads, flan and more. I’ve forgotten all the wonderful dishes we sampled. I usually brought two Mexican chocolate cake rolls with cinnamon-flavored whipping cream inside. Believe me, we all ate, drank and reveled in old and new friendships.
As I recall, Tony adapted his recipe from an early Sunset magazine offering. My version is good, but it has never hit the high notes that Tony’s did. Perhaps it was the homemade sauce that he served as a topping for the rellenos that made his efforts so outstanding. Truth is, I’ve looked for short-cuts over the years and have rellenos down to not quick and easy, but not too difficult, either.
So here is how I make chiles rellenos, inspired by our friends and the good times we had years ago. I make six at a time. Tony and Donna used to make more than 50 for each party.
Ingredients
6 long Anaheim chiles
18 slices of Monterey Jack cheese cut into 3/4-inch-wide strips (Note from Janet: Washington girl that I am, I used “Just Jack,” from Beecher’s handmade cheese “straight from the heart of Seattle’s Pike Place Market.” It’s available at New Season’s.
3 eggs, separated
1/3 cup of flower
Salt and pepper
Oil for frying
Directions
Turn the oven on broil. Rinse the chiles and then place them on a lightly oiled cookie sheet in the center of the oven. Keep an eye and ear out. When the skins start popping and turning brown in places, flip them over. Keep listening and checking until the skins have browned all over. It should take about 10 minutes.

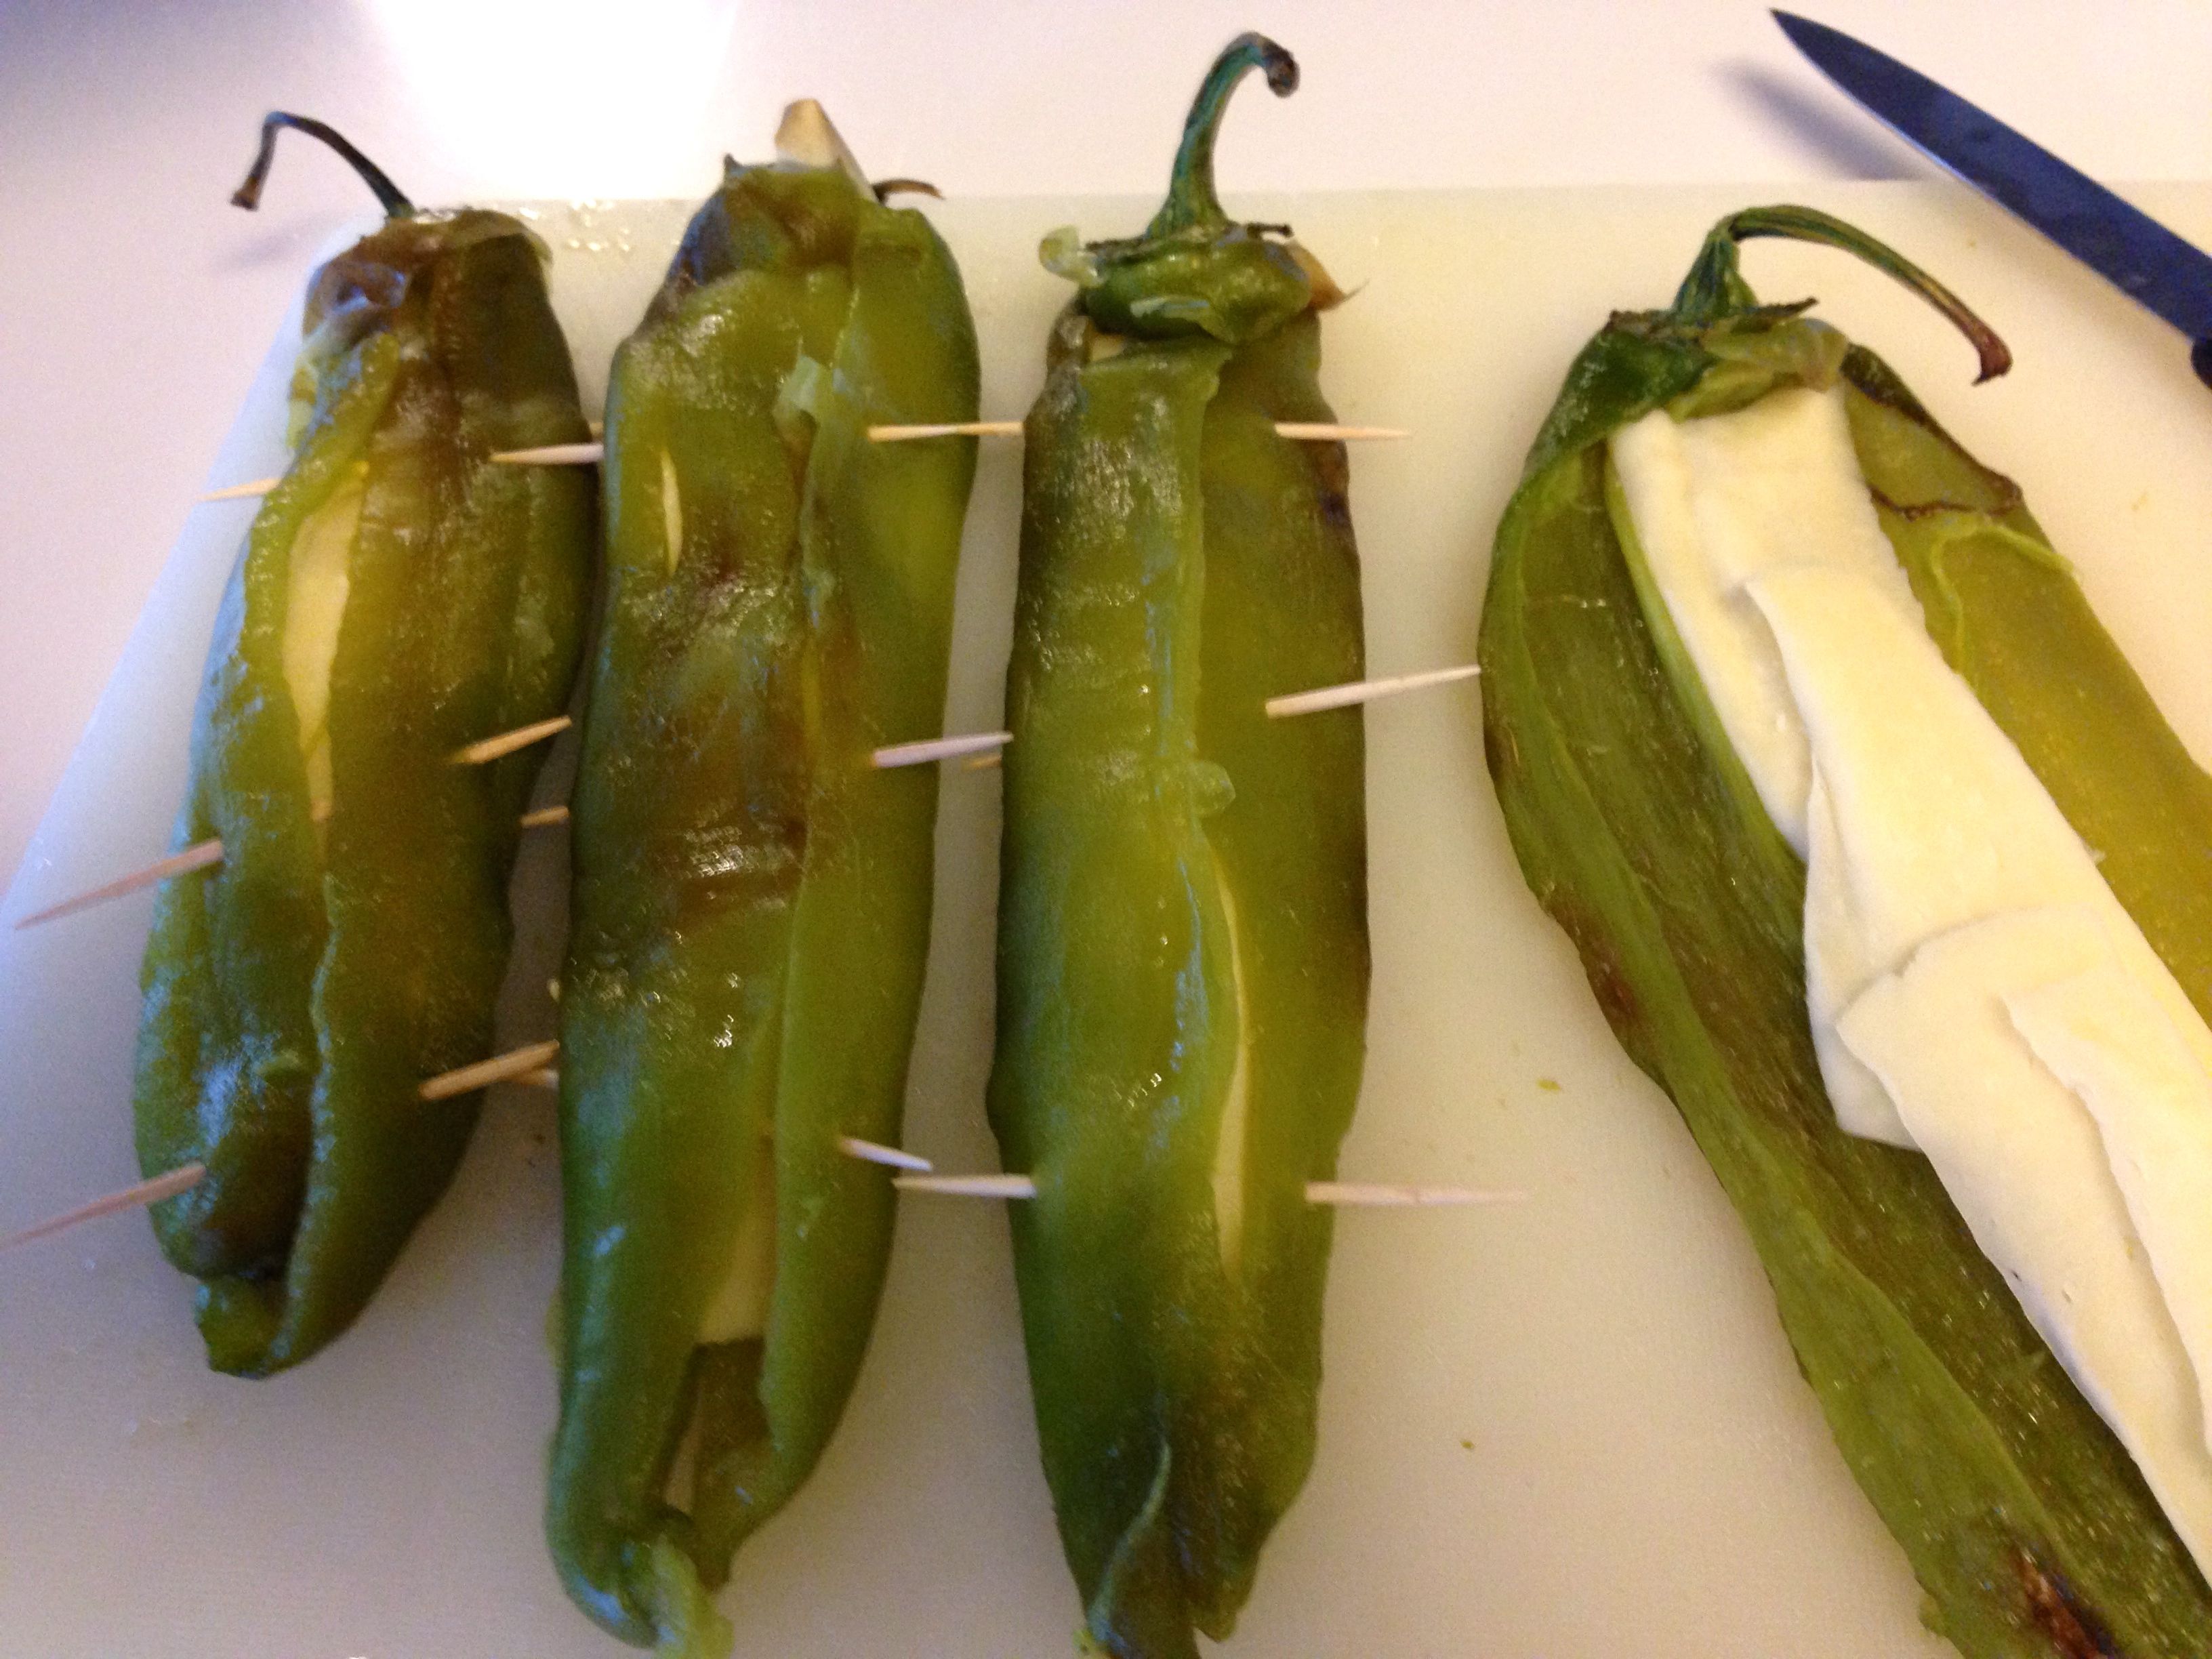
Cut a “t” in each chile, clean out the seeds and fiber, stuff with Monterey Jack cheese and close up with toothpicks.
Run water over about three paper towels and put them in a paper bag. Then put the chiles in and close the bag tight. I let them steam in this way for about 10 minutes. They’ll cool and you can get ready for the most time-consuming portion of the recipe.
Remove the skins from each chile. They should come off easily. Cut a slit almost the full length, and make a “t” at the top by the stem. Carefully pull out the seeds (the source of heat) and the fibers. Lay the chiles flat and then place the cheese strips inside before you close them up and secure with toothpicks. You can let them rest in the refrigerator for a few hours if you’re not ready to fry them.
Whip the egg whites until stiff peaks have formed as you heat the oil in a skillet. It’s hot enough when a drop of water sizzles in the pan.
Beat the egg yolks and then fold them into the whites. (Note from Janet: I’ve also just used the whites.)
Roll the chiles in flour seasoned with salt and pepper and then dip each one in the egg mix. Coat evenly. Fry, seam side down on both sides until golden brown. Place on paper towels to drain.
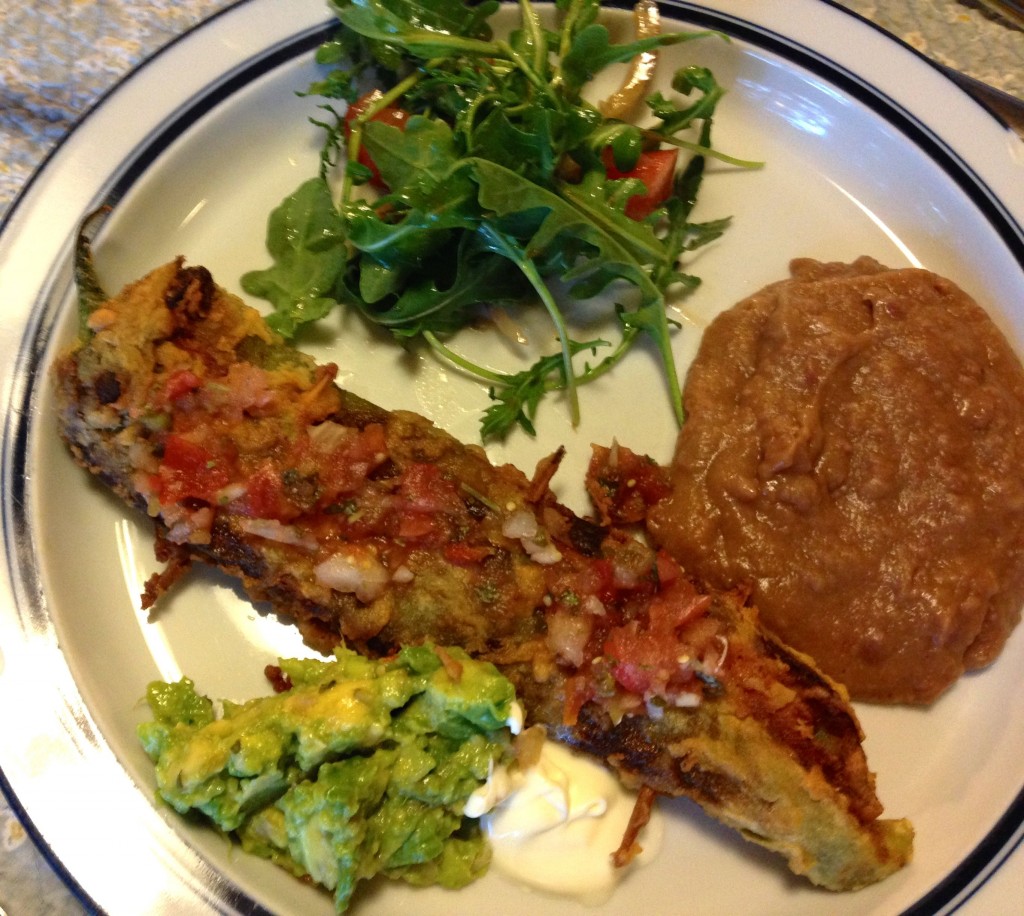
Serve immediately with salsa or enchilada sauce on the side.
