
Rice Krispie Treat Cake
Before I tell you about this dreamboat of a cake, let me first just explain that I have not died nor have I dropped off the face of the Earth, although Dead Week and Finals Week at school can feel that way sometimes, but I have actually been up to my neck in final assignments and studying. However, I can now finally breathe again and get back into the kitchen since I now have a full MONTH off for winter break!!!! (Happy dance time!) And what better to celebrate with than a gigantic Rice Krispie treat (the treat that I’m pretty sure was made just for studying college kids) in the form of a cake???!
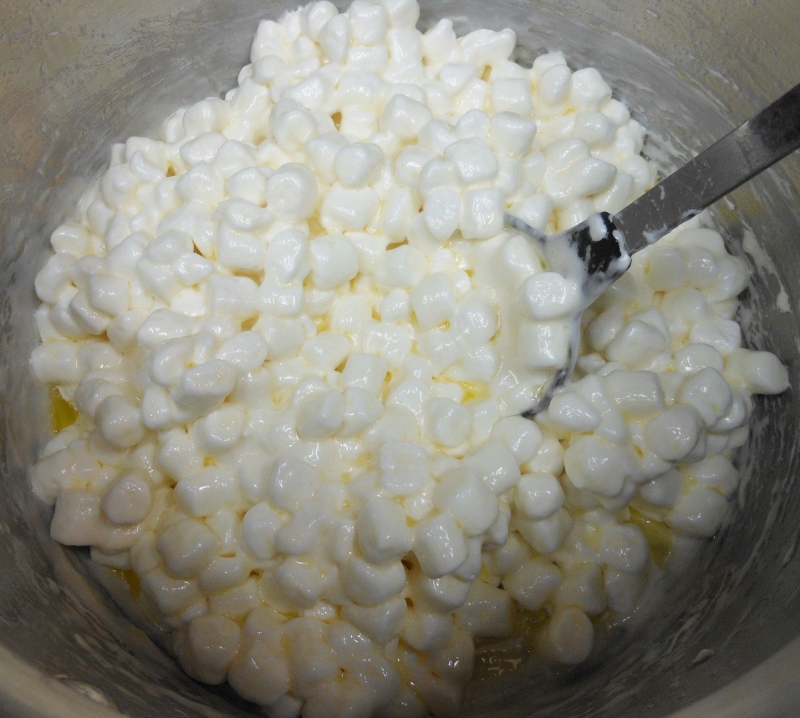 Basically, you do all the same things that you’d do to make Rice Krispie treats! And if you’ve never made them before, now is the time to learn! So, melt a BUNCH of mini marshmallows with butter and vanilla. Try not to dive head-first into the warm, gooey mixture. Not like I pictured doing it a thousand times or anything.
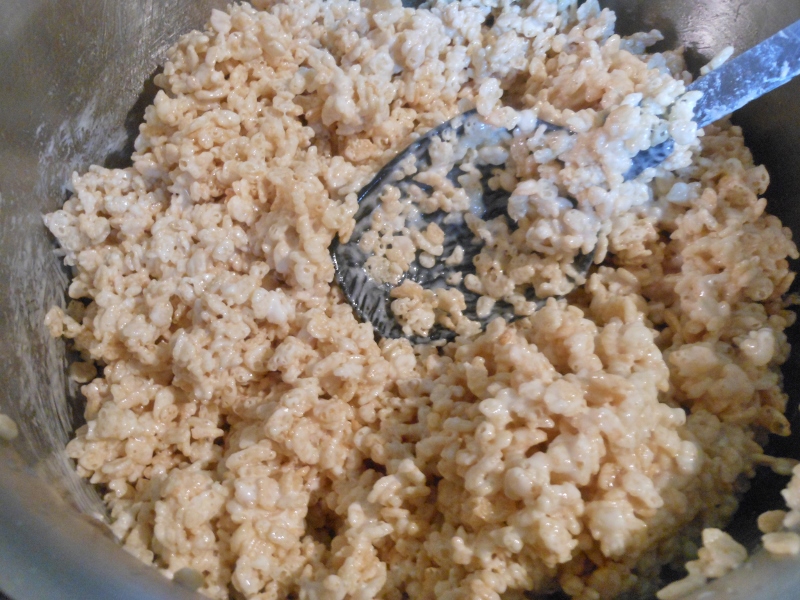
Add a box of Rice Krispie cereal, the uhhh-sential ingredient! And combine it well until it looks like a big, sticky mess that you could eat with a bowl and a spoon. Hmmm this part always looks familiar!
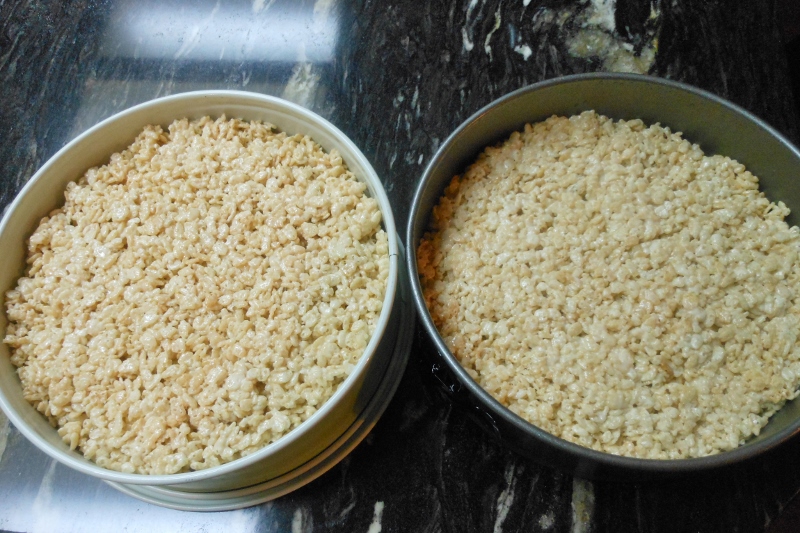 Then, with greased hands, press the warm Rice Krispie mixture into two 9-inch springform pans and let them chill for a few hours until firm. Bam! Gigantic Rice Krispie treats!
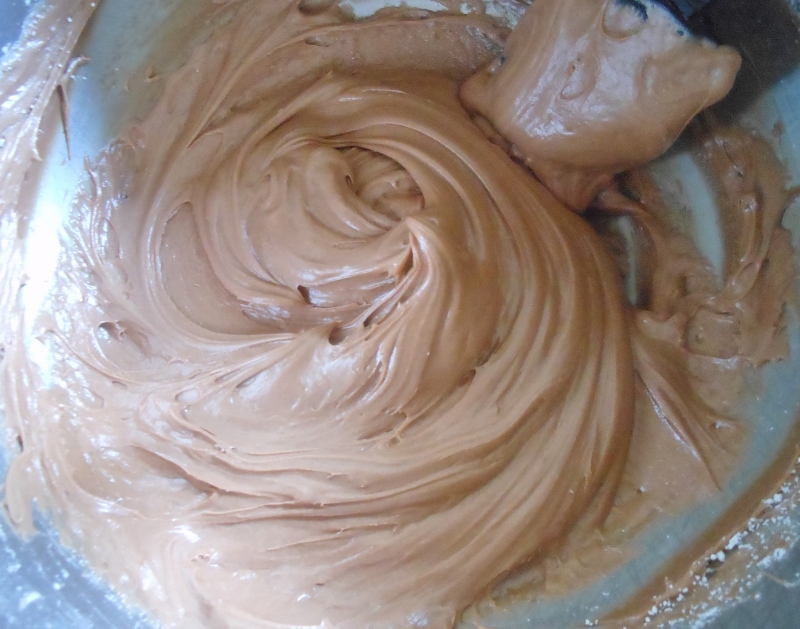 In the meantime, get to work on the milk chocolate frosting. Mix melted milk chocolate and butter together with powdered sugar, sour cream, and vanilla. Now where were those Rice Krispie treats?
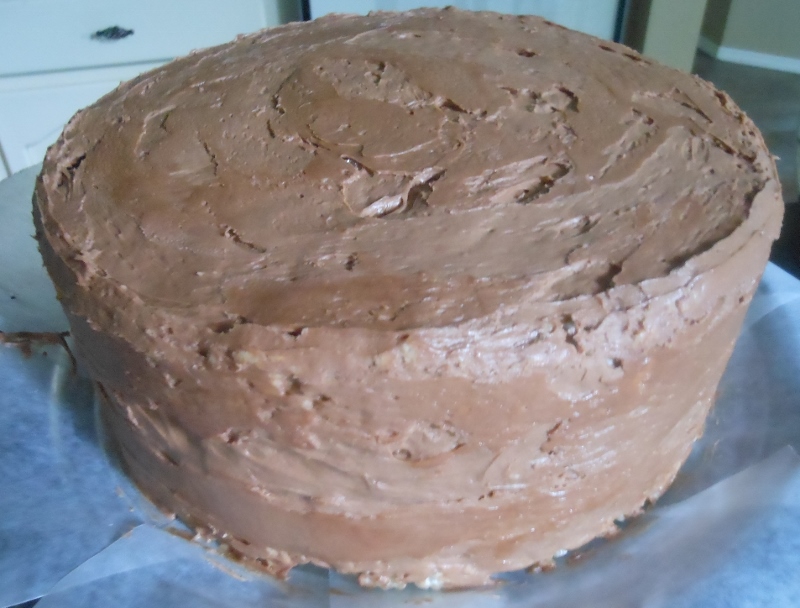 Pop the collar off the pans and frost the Rice Krispe layers until adequately covered in chocolate frosting. It doesn’t have to be perfectly smooth (Rice Krispies are notoriously un-smooth) because we’re going to cover it in sprinkles next!
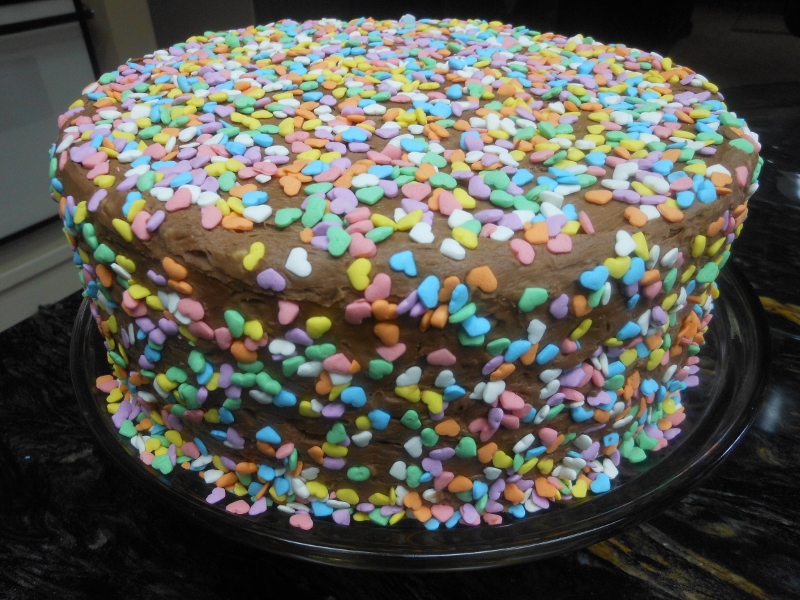 Like this! You can actually use whatever kind of sprinkles you want, and even whatever frosting you want. The point is, this cake is pretty and irresistible. Pretty irresistible.
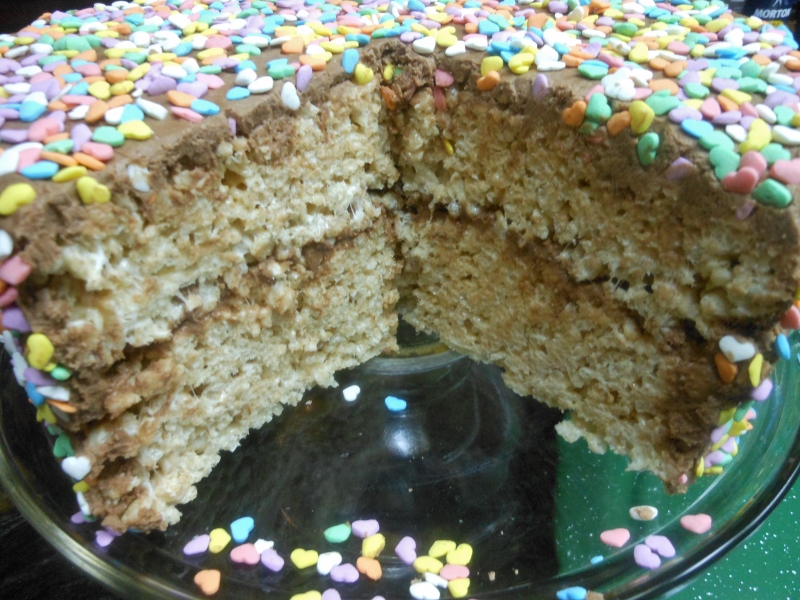
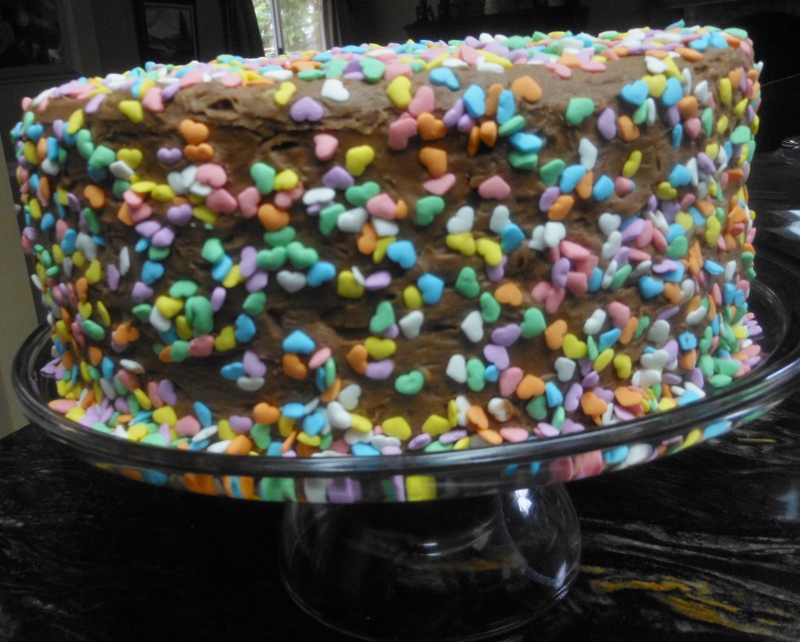 And tall! But I like my cakes tall. More cake = more happy. That’s a real mathematical certainty don’t ya know!
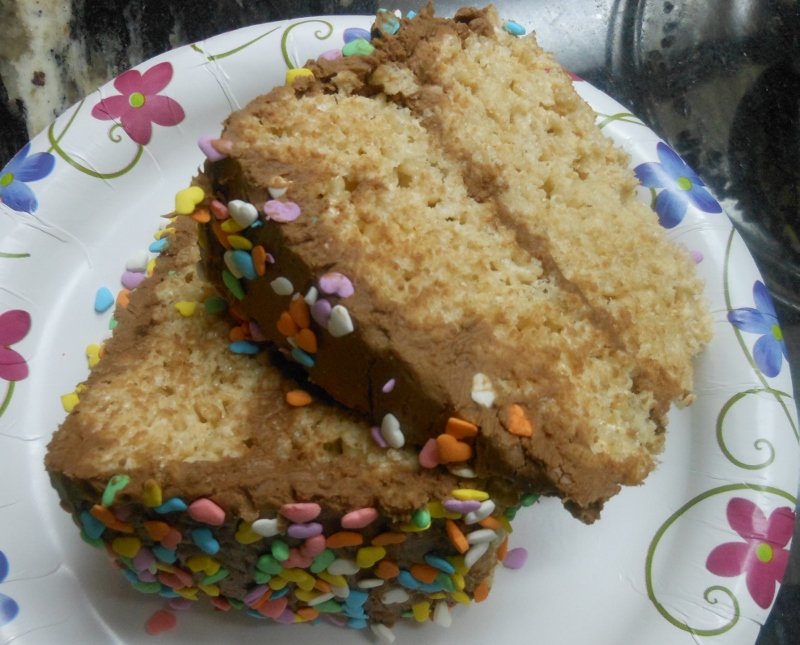 This is a cake that does not quit! Meaning, it’s pretty much impossible to quit eating it until you’re full of Krispie delight! (I even had it for breakfast one morning). I love how fun and creative this cake is and it would be great for a kid’s birthday party. Or for a bunch of college kids trying not to go into nuclear meltdown while studying for exams. Or anybody! Rice Krispie treat cake, therefore, brings smiles to everyone!
Rice Krispie Treat Cake
Source: Martha Stewart crispy rice recipe
Yield: One 9-inch double layer cake
Ingredients:
10 Tbsp. unsalted butter
12 cups mini marshmallows
2 teaspoons vanilla extract
13 1/2 oz. box Rice Krispies cereal
Pinch of salt
Grease two 9-inch springform pans with butter; set aside. For the Krispie treat portion, melt butter in a large pot over low heat. Add marshmallow; stir until melted. Add vanilla extract and stir to combine. Add Rice Krispies cereal to the marshmallow mixture. Stir together with a large spoon until all the cereal is coated with marshmallow. Quickly press the cereal into the pans with well-buttered hands. Refrigerate cakes until well chilled and set, about 2 hours.
Milk Chocolate Frosting:
1 1/2 cups milk chocolate chips
6 Tbsp. unsalted butter
3/4 cup sour cream
1 1/2 tsp. vanilla extract
1/4 tsp. salt
3 3/4 cups powdered sugar, sifted
1 1/2 cups multi-colored sprinkles, for decoration
In a saucepan, melt chocolate and butter over low heat, stirring frequently. Cool about 10 minutes. Transfer melted chocolate and butter to the bowl of an electric mixer fitted with a paddle attachment. Stir in sour cream, vanilla, and salt. Gradually add powdered sugar, then beat on medium speed for a minute until light and fluffy.
Remove the cakes from the pans and place on a cake stand lined with pieces of parchment paper. Frost the top of one layer, then stack the other layer on top. Frost the sides and top of the cake, then quickly press handfuls of sprinkles into the sides of the cake and on top until well-covered. Remove the parchment paper and bring to room temperature before cutting and serving.
Kelcie Kromminga
Hi! I'm Kelcie and I've got a major passion for dessert! I started this blog to help share my love for crafting sweet, beautiful, and crazy-delicious treats. I find baking to be an outlet for my creative side that just so happens to also satisfy the unstoppable sweet tooth with which I was born (I get that from my dad's side). The recipes I create are designed to be easy, yet produce that impressive "Wow!" and "Yum!" factor. When I'm not baking, you'll probably find me either reading, writing, gardening, or spending way too much time on Pinterest. I hope my recipes will help you find your own inner merriment for all things fun, beautiful, and (of course) sweet!