
Halloween Bark
The sweetest time of the year is almost here!
Candy time!
Ohhhh how I wish I was still young enough to trick-or-treat! But no. This year, I shall be responsible for providing my own candy to myself instead of knocking on doors and begging. Even though I did look awful cute in my costumes as a kid, if I do say so myself. Let’s see, I was Cinderella, a mermaid, a fairy princess . . . Hey, I liked fairy tales okay? *Cough!* Still do! *Cough!* Excuse me.
However, I think I have the best of the best candy this year with this colorful chocolate bark! It’s also super easy and would be a great thing to make with kids. Or other grownup people who have nothing to do on Halloween but still want some chocolate!
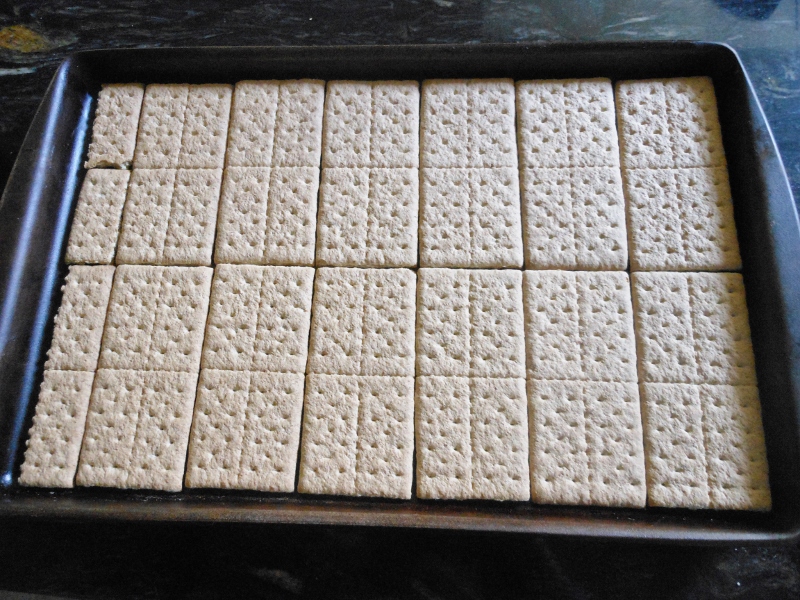
So, bark typically isn’t made with graham cracker, but I saw this technique on another site and I knew that my bark WOULD have the same destiny. Therefore, place several graham crackers in an even layer in a baking pan (you may need to break some into pieces to fill the pan). This will be the base for the chocolate to hold it in place and make sure it doesn’t run away.
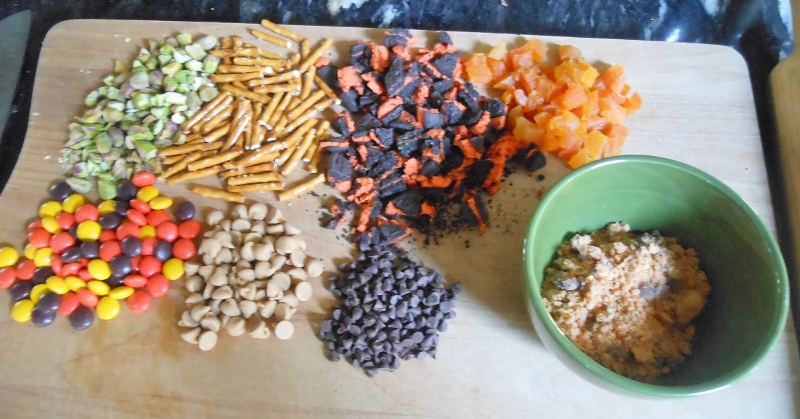
Then prepare the toppings! I used chopped pistachios (green!), pretzel sticks (salt!), chopped Halloween Oreos (orange!), dried apricots (healthy!), Reese’s Pieces (colors!), peanut butter chips (PB for you and me!), mini chocolate chips (miniature!), and I also smashed up some Butterfingers using a plastic bag and a rolling pin (because Kelcie SMASH!). This was the best Halloween-y (tee-hee!) combination of candies I could come up with, but go ahead and use whatever calls to you!
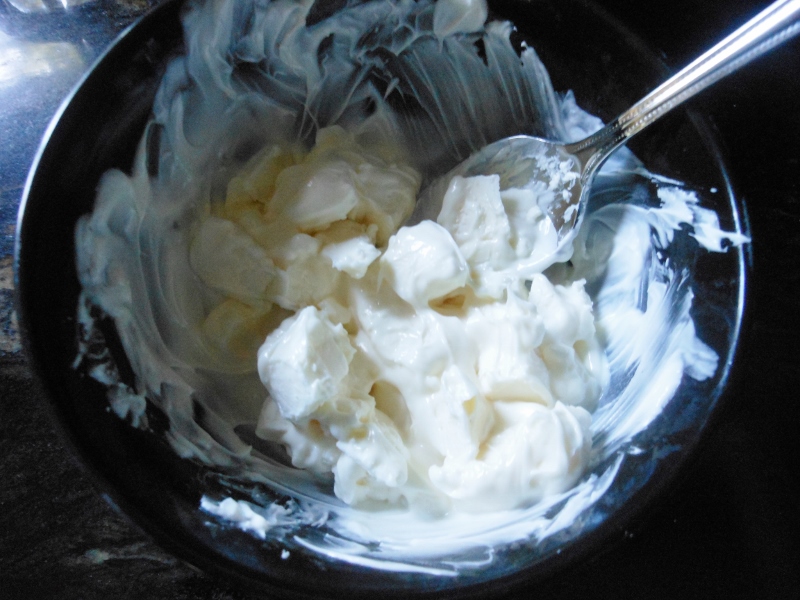
Now, melt the chocolate. I used Almond Bark for this; half o’ brick of white chocolate and half o’ brick of milk chocolate. To melt it, chop up the chocolate and put 3/4 of each kind in separate bowls. Melt the chocolate in 30 second intervals, stirring between, until the chocolate is completely melted. Then, put the remaining fourth of the chocolate into the melted stuff and stir it until it’s all melted together.
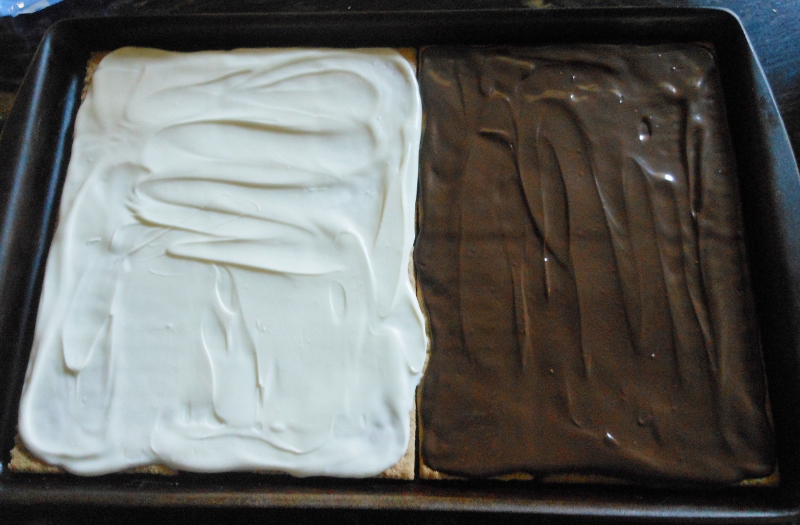
Spread each kind of chocolate evenly over half the graham crackers (white on one side, milk on the other). Smooth out the chocolate so the bark will look nice. Although, I can’t imagine a time when chocolate hasn’t looked nice.
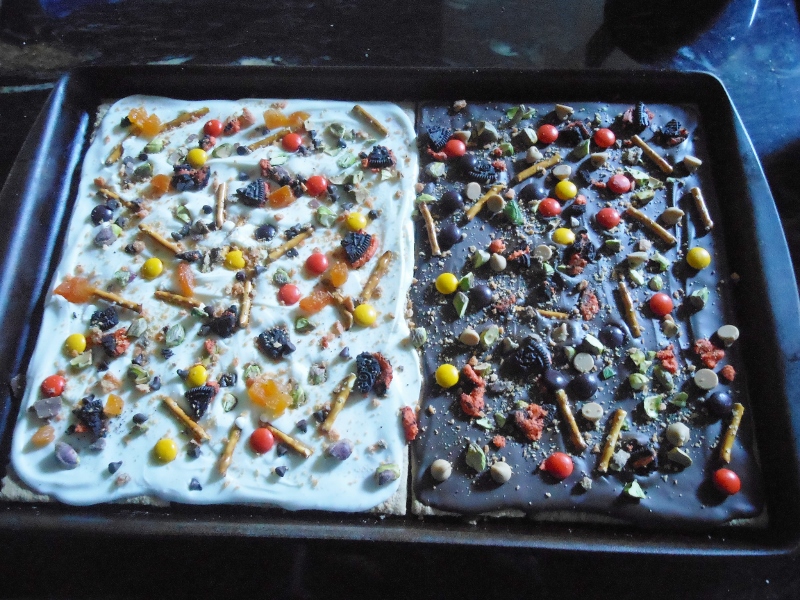
Now, quickly, sprinkle the toppings all over the top of the bark. This is not the time to hesitate as you’ll be surprised how fast this chocolate hardens back up! Press the topping lightly into the chocolate to make sure they get embedded. Pop the pan of bark in the fridge for just a couple minutes to let it harden completely.
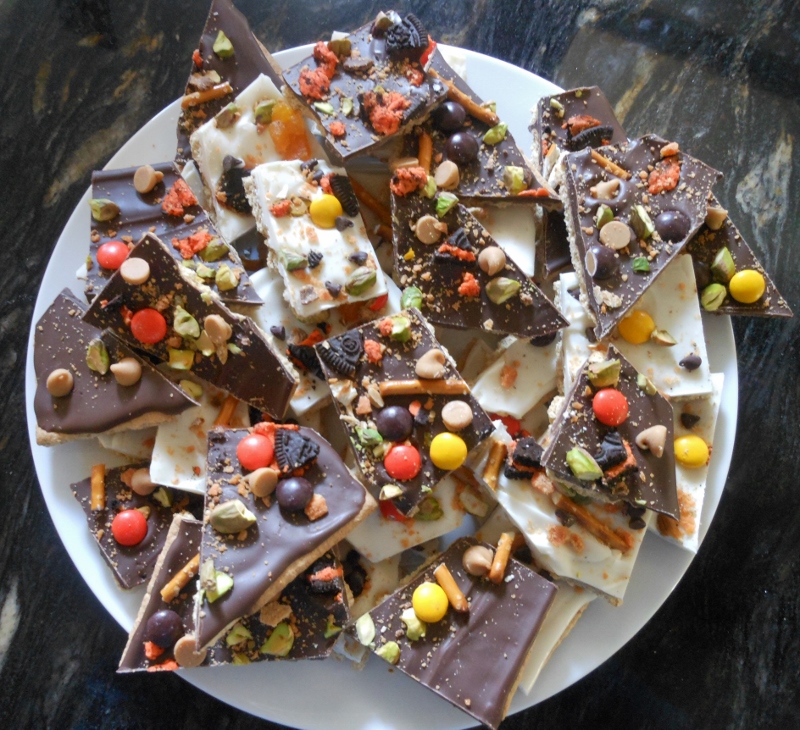
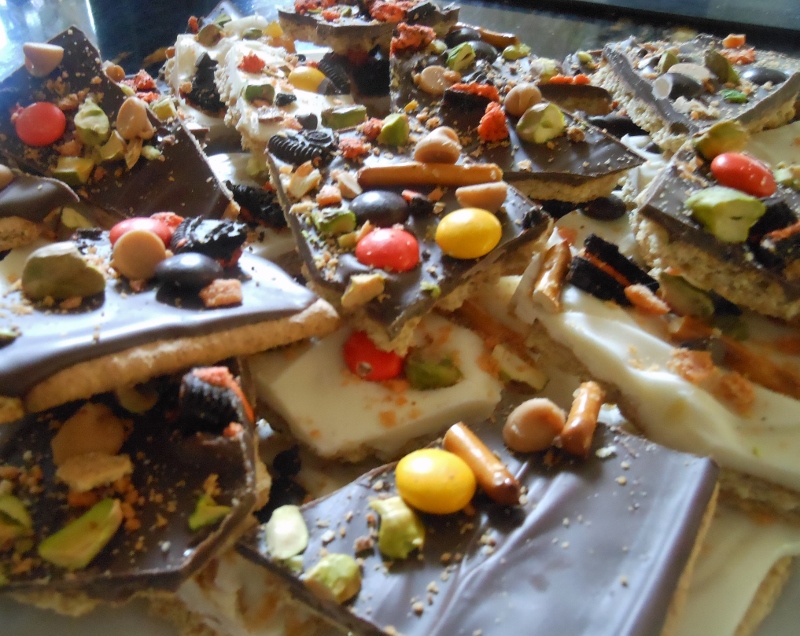
Then, just lift the bark right outta the pan (trust me, it will come right out in one piece) and break or cut the bark into shards or squares or whatever shape you want. I loooove that look of shards of stained glass that these pieces possess. I can’t wait to settle in tomorrow night with a good scary movie because I know that I’ve got my Halloween candy right here!
Halloween Bark
Source: All Things Sweet original recipe
Yield: Serves 16
Ingredients:
16 whole graham crackers
1/2 package White Almond Bark
1/2 package Milk Chocolate Almond Bark
Toppings:
Shelled pistachios, roughly chopped
Pretzel sticks, broken in half
Halloween Oreos, chopped
Dried apricots, chopped
Reese’s Pieces
Peanut butter chips
Miniature chocolate chips
Butterfingers, crushed
Place the graham crackers in a single layer on a rimmed baking sheet. Set aside.
Chop up both chocolates and place 3/4 of each kind into separate bowls. Melt each in 30 second intervals in the microwave, stirring between each interval, until completely melted. Stir in the remaining quarter of the chocolate into their respective bowls until all the chocolate is melted.
Spread the melted white chocolate onto half the graham crackers and the milk chocolate on the other half. Immediately, sprinkle the toppings evenly onto the chocolate. Gently press the toppings into the chocolate to make sure they get embedded. Chill for a couple minutes until the chocolate is firm. Break or cut into pieces to serve.
Kelcie Kromminga
Hi! I'm Kelcie and I've got a major passion for dessert! I started this blog to help share my love for crafting sweet, beautiful, and crazy-delicious treats. I find baking to be an outlet for my creative side that just so happens to also satisfy the unstoppable sweet tooth with which I was born (I get that from my dad's side). The recipes I create are designed to be easy, yet produce that impressive "Wow!" and "Yum!" factor. When I'm not baking, you'll probably find me either reading, writing, gardening, or spending way too much time on Pinterest. I hope my recipes will help you find your own inner merriment for all things fun, beautiful, and (of course) sweet!