
By Phil Chou
Dirty Hands Brewery
Now that there’s a bit of a lull in fixing leaks (more on that in a subsequent blog!), I’ve finally found some time to put some thoughts down on the build-out portion of starting a brewery. As we were searching for the right location, we learned one important lesson, there are no perfect buildings! Every place we looked at had good and bad points, we just had to find a space where there were more checks on the plus side of the ledger. This would not have been a problem if we would have just built a place brand new from the ground up. Of course, this wasn’t an option, since neither Grant (my business partner) nor I had a) won the lottery or b) have spouses that are fabulously wealthy.
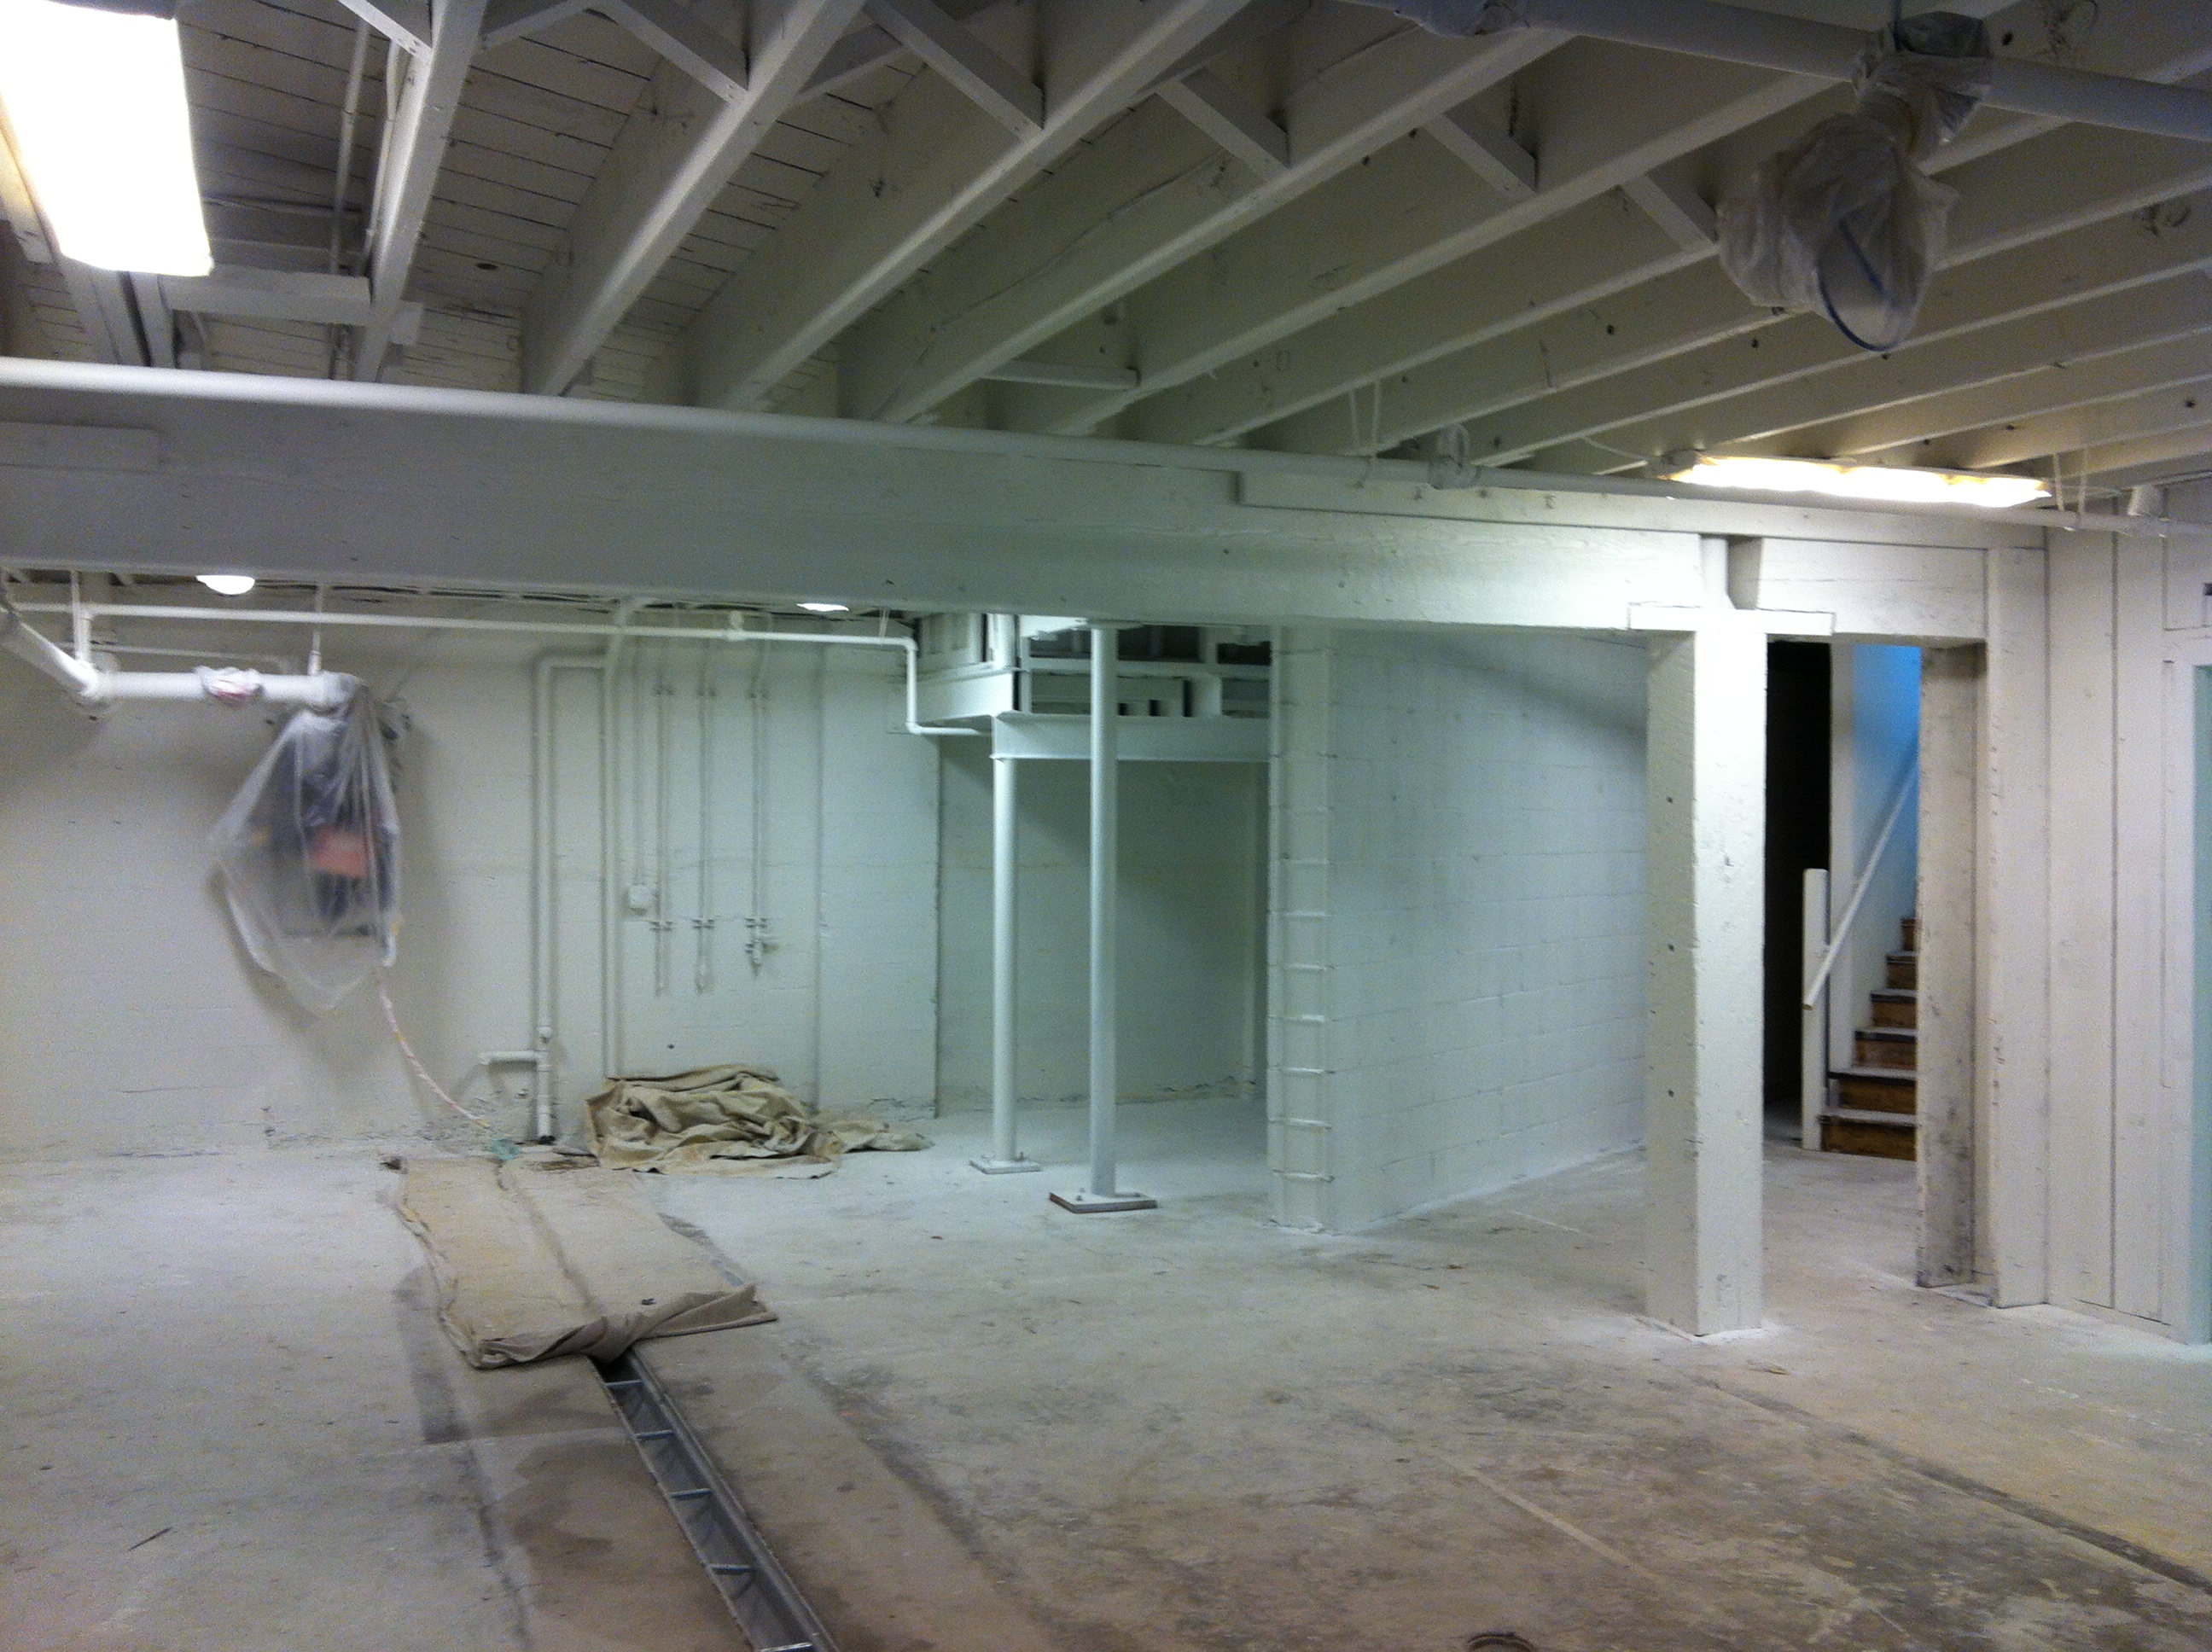
After identifying the location for our brewery, the next step was to get the building ready for brewing and serving customers. The brewery site has a lot going for it, as well as some quirks that needed to be overcome. We are leasing a corner space in the old Columbian newspaper building (114 E. Evergreen Blvd.), which has a street level floor as well as a basement. Our tap room will be located on the street level floor while production will occur in the basement.
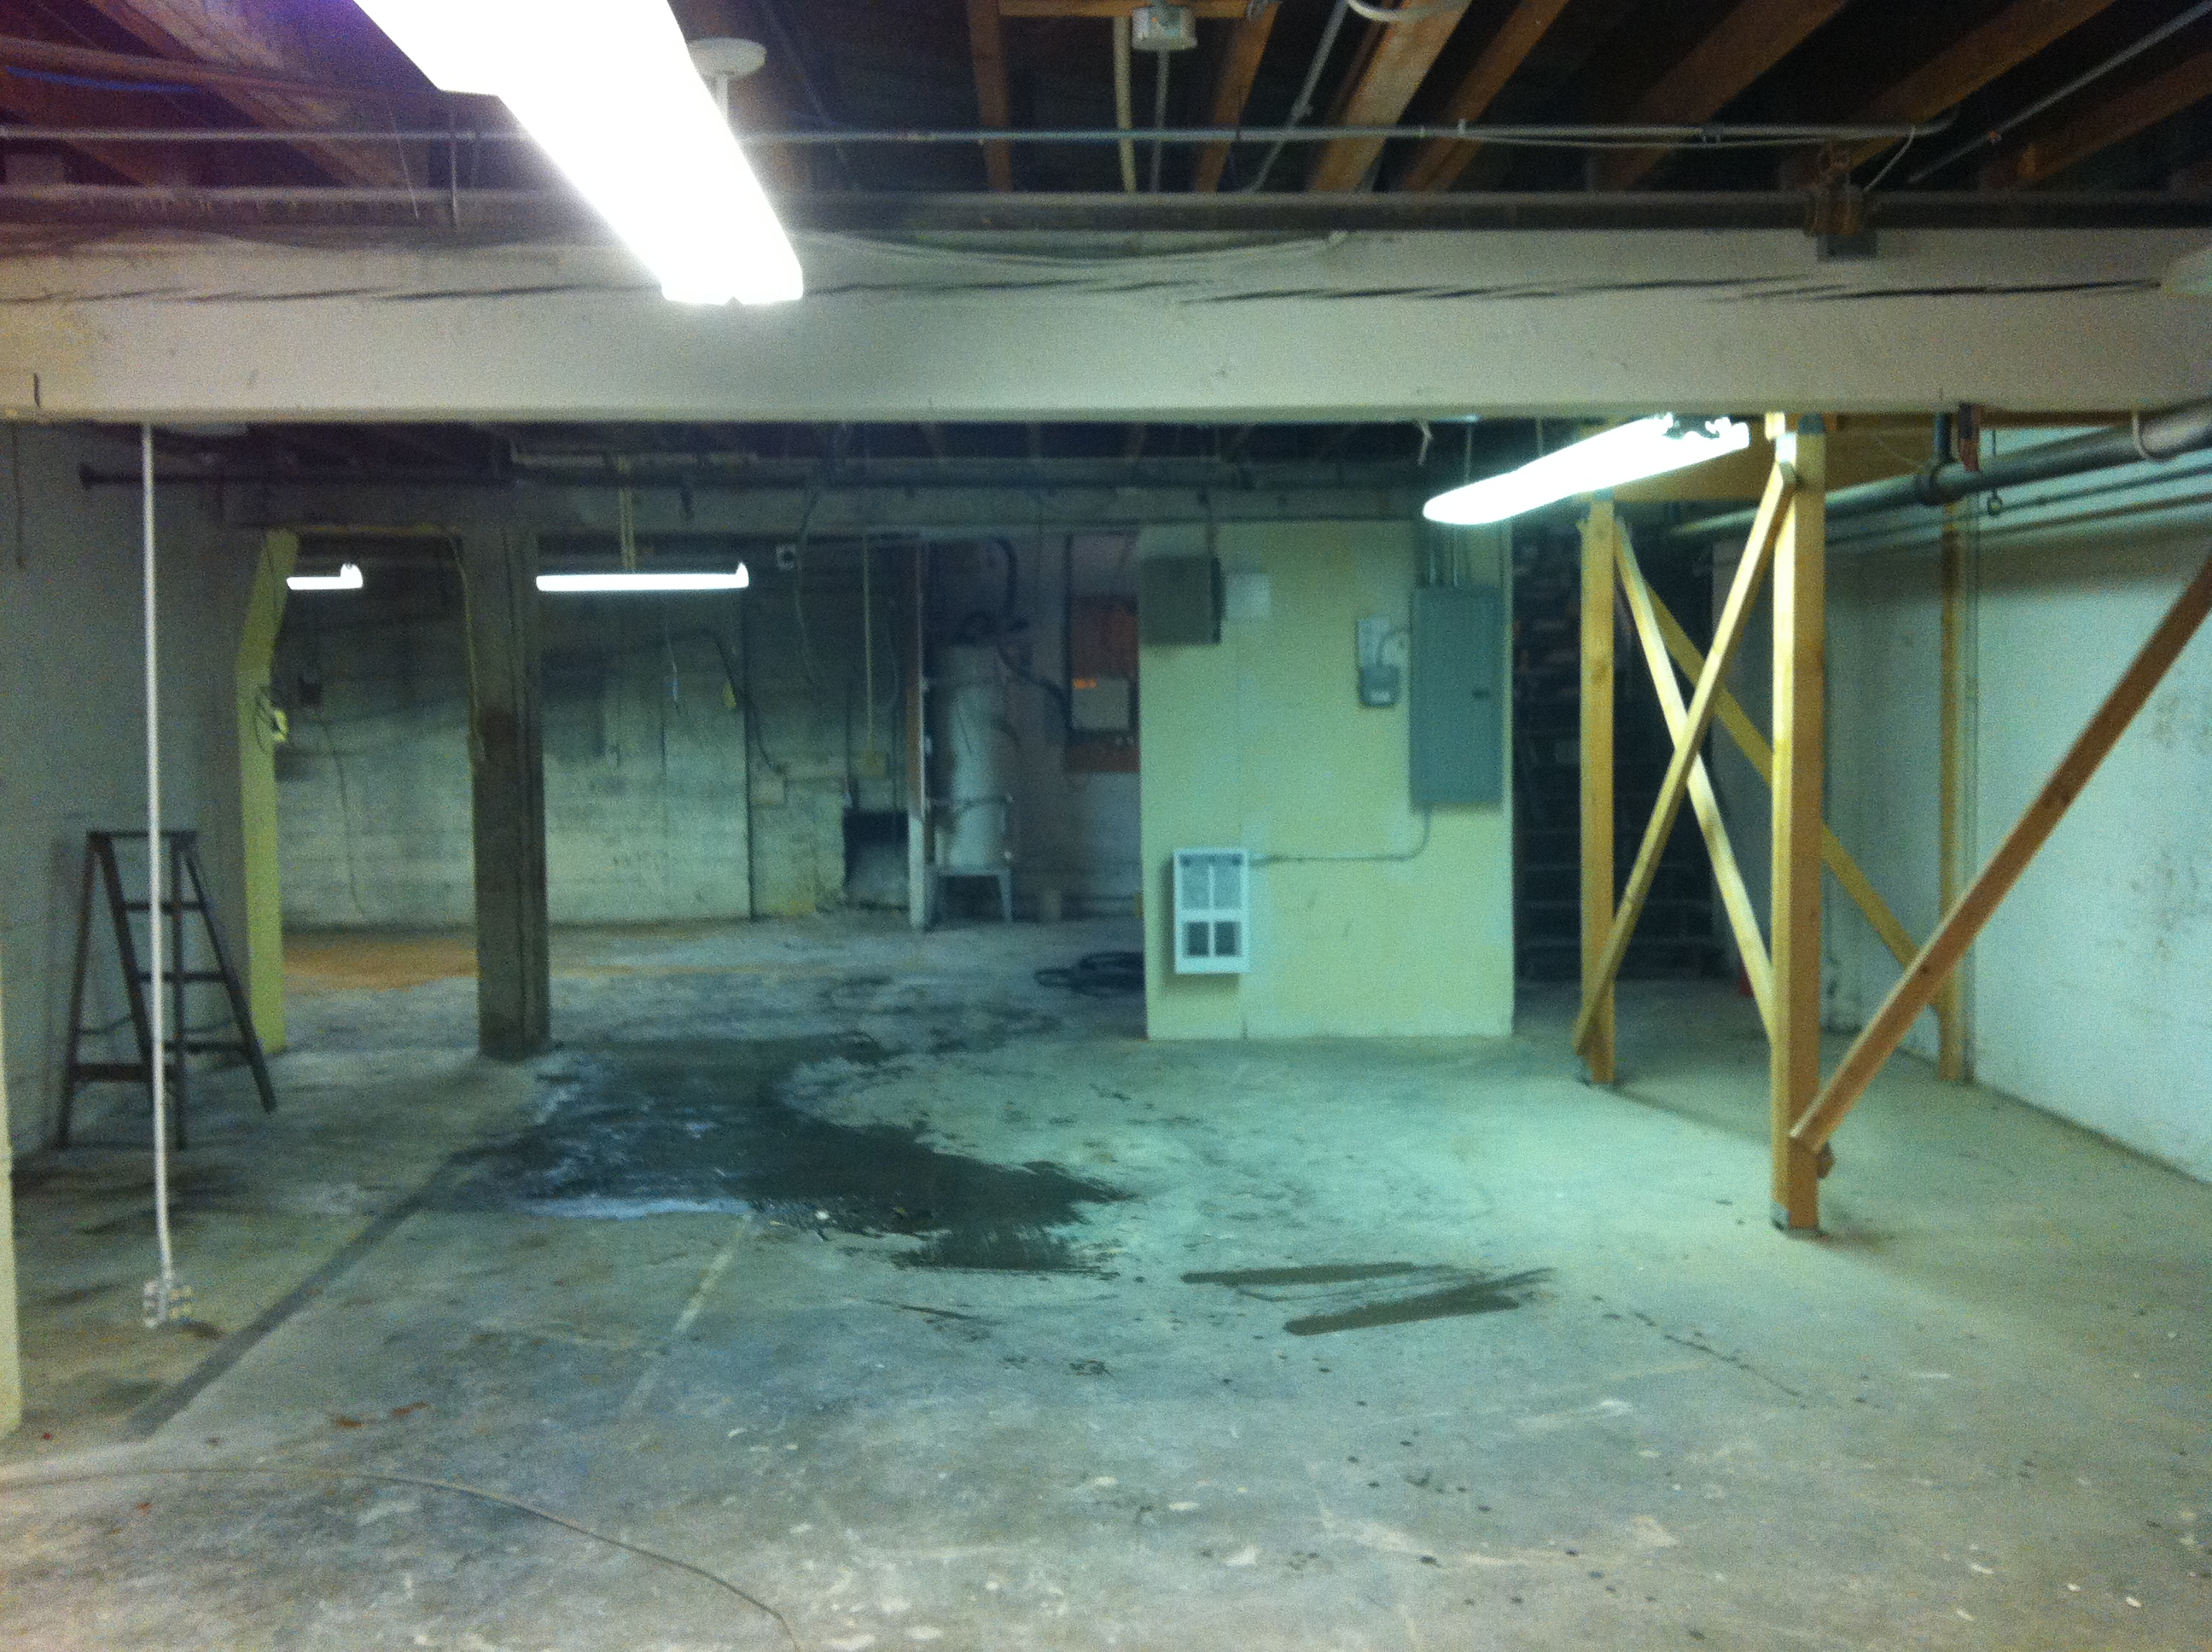
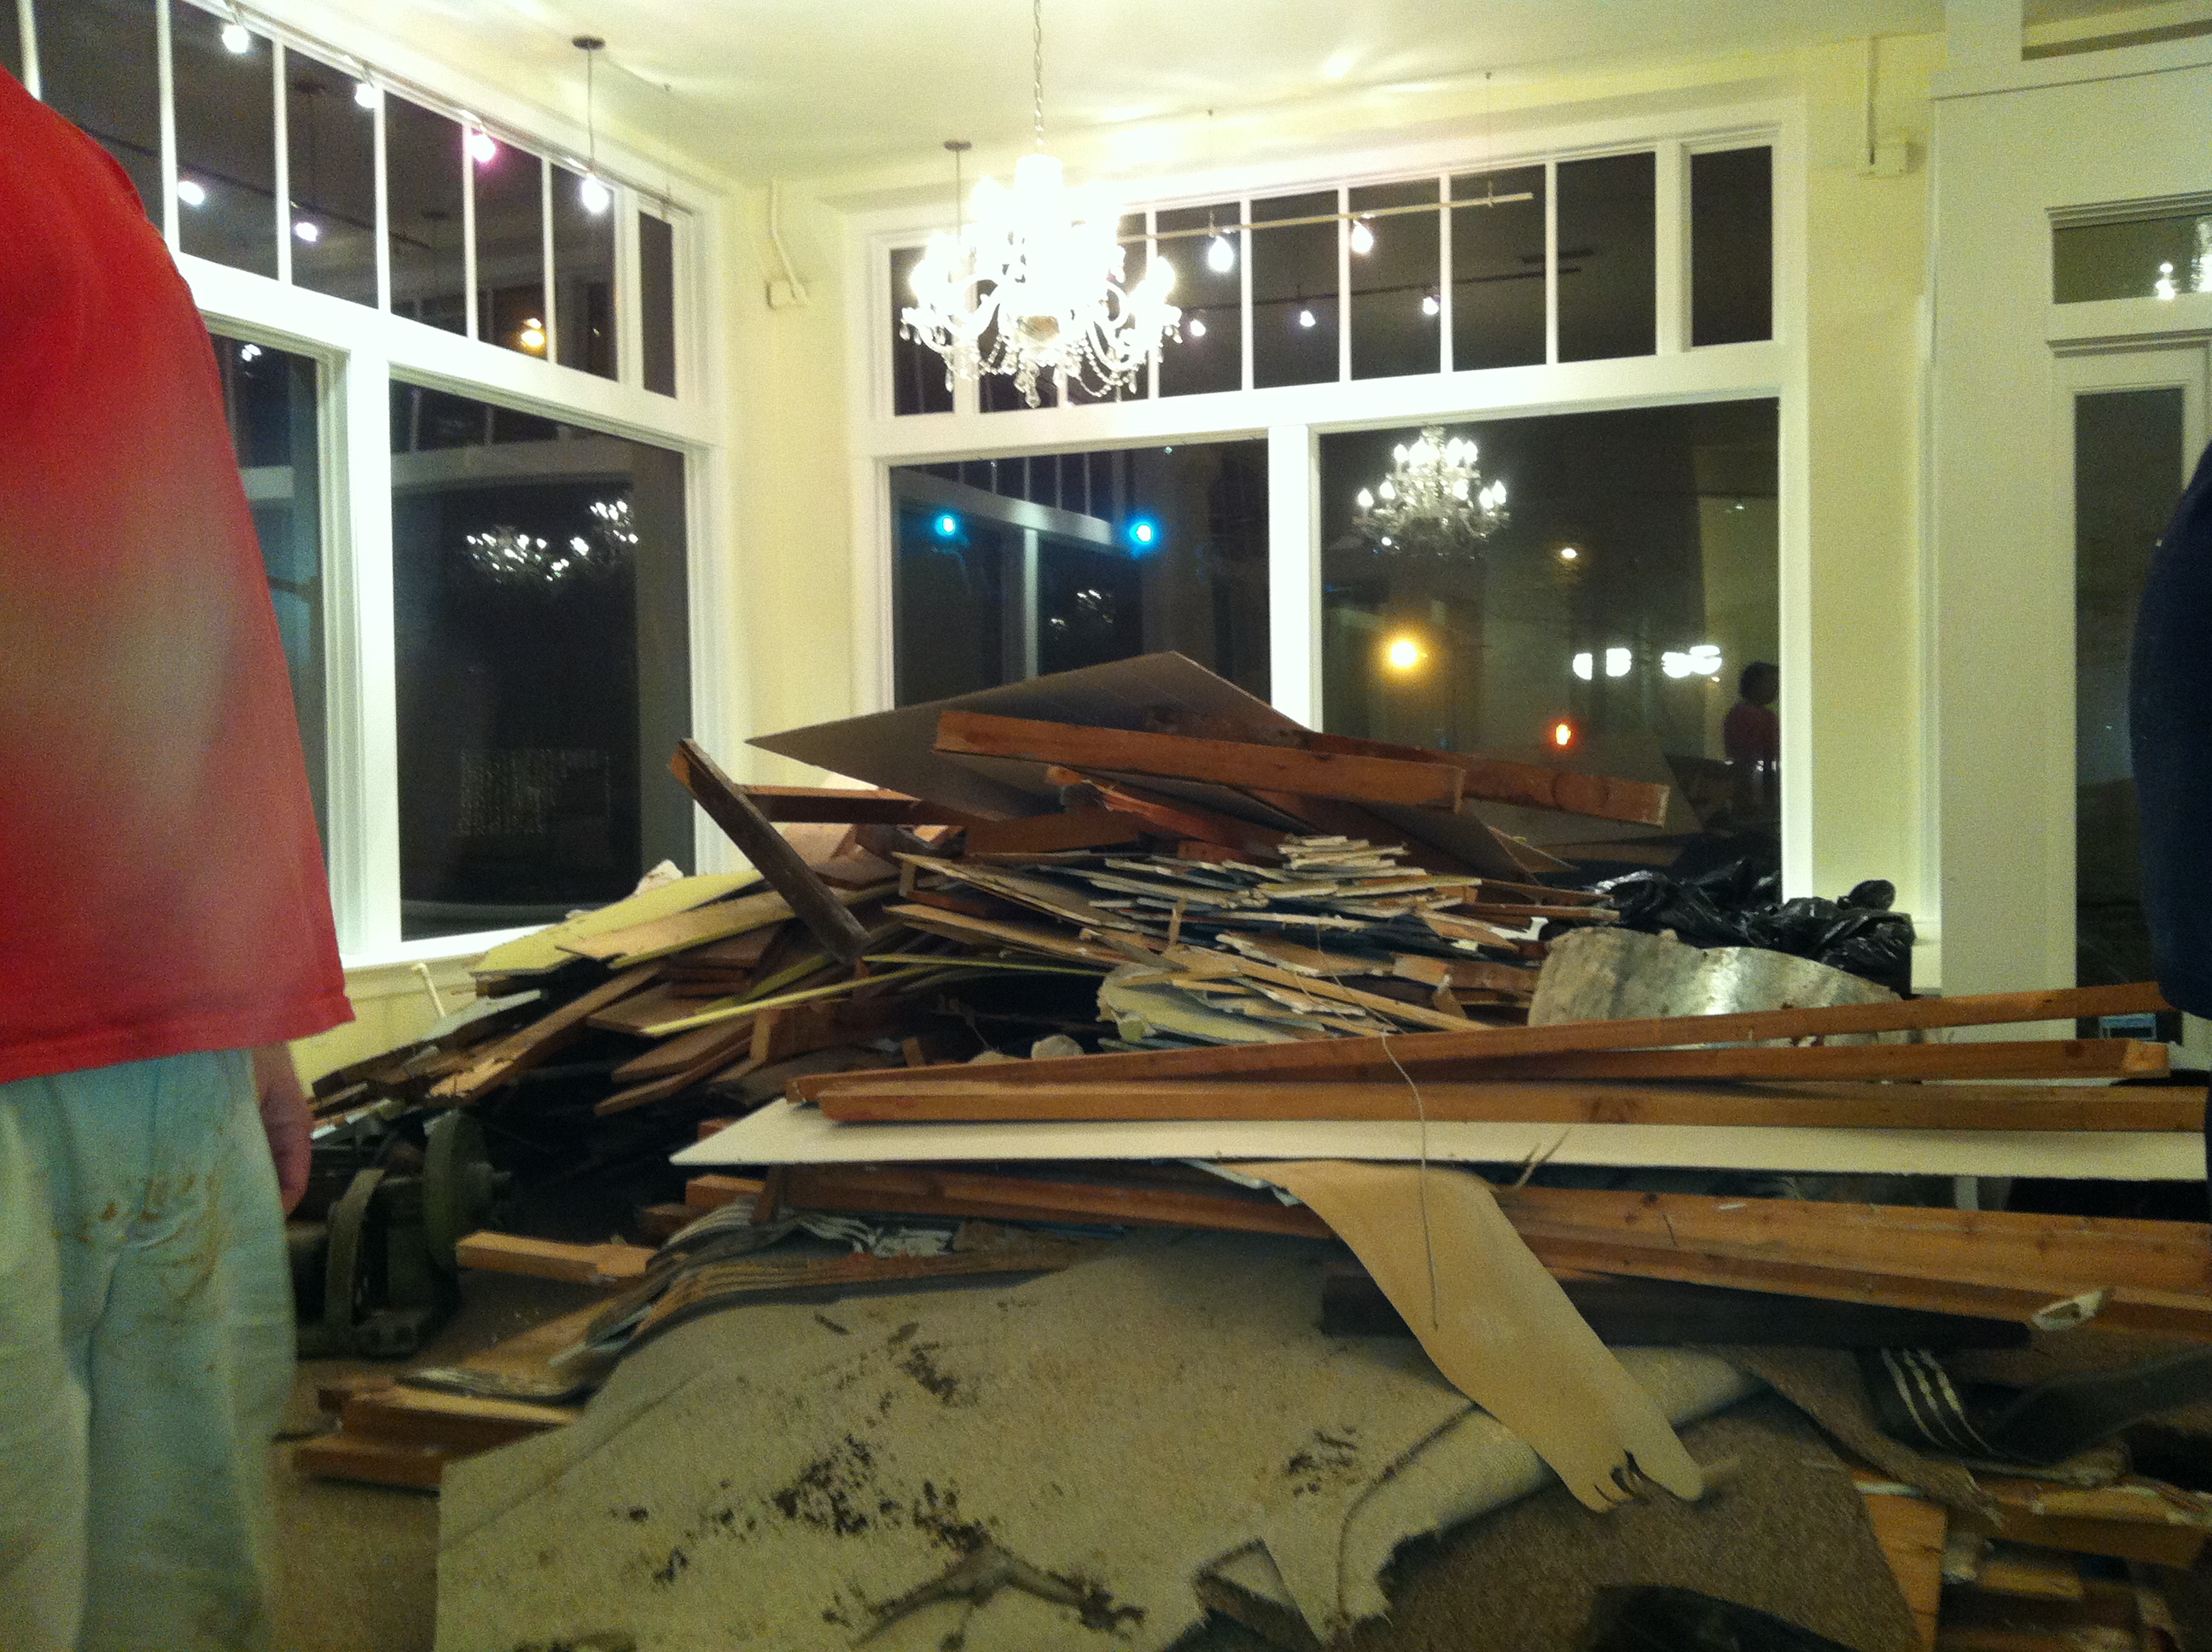
The first order of business was demolition and cleanup. This was dirty, sweaty and stinky work! Imagine having to clean out decades worth of dust and dirt from every nook and cranny in the place. While you were working, the grime got everywhere, especially in your nose, ears and eyes. While knocking down walls and ripping out carpet was kind of fun, carrying 6 tons of debris up stairs and then out to a truck was not. Here’s a couple of photos of before the demolition.
After playing at Wreck It Ralph, we needed to do some serious painting. Given the moisture that is inherent to any brewery, it was essential to cover any bare wood and concrete with some sort of coating. We owe a big debt of gratitude to our friend Mark for lending us his painting equipment and also for doing most of the painting. Without Mark and his paint sprayer, I think that we would still be painting! As you can see, the space looks much more presentable with some paint on the walls and rafters.
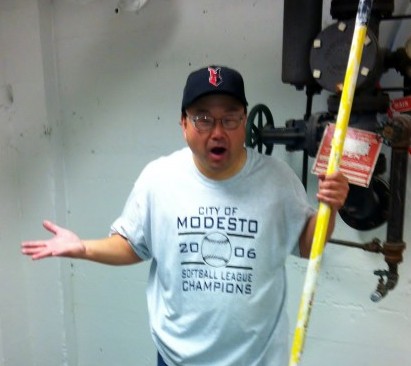
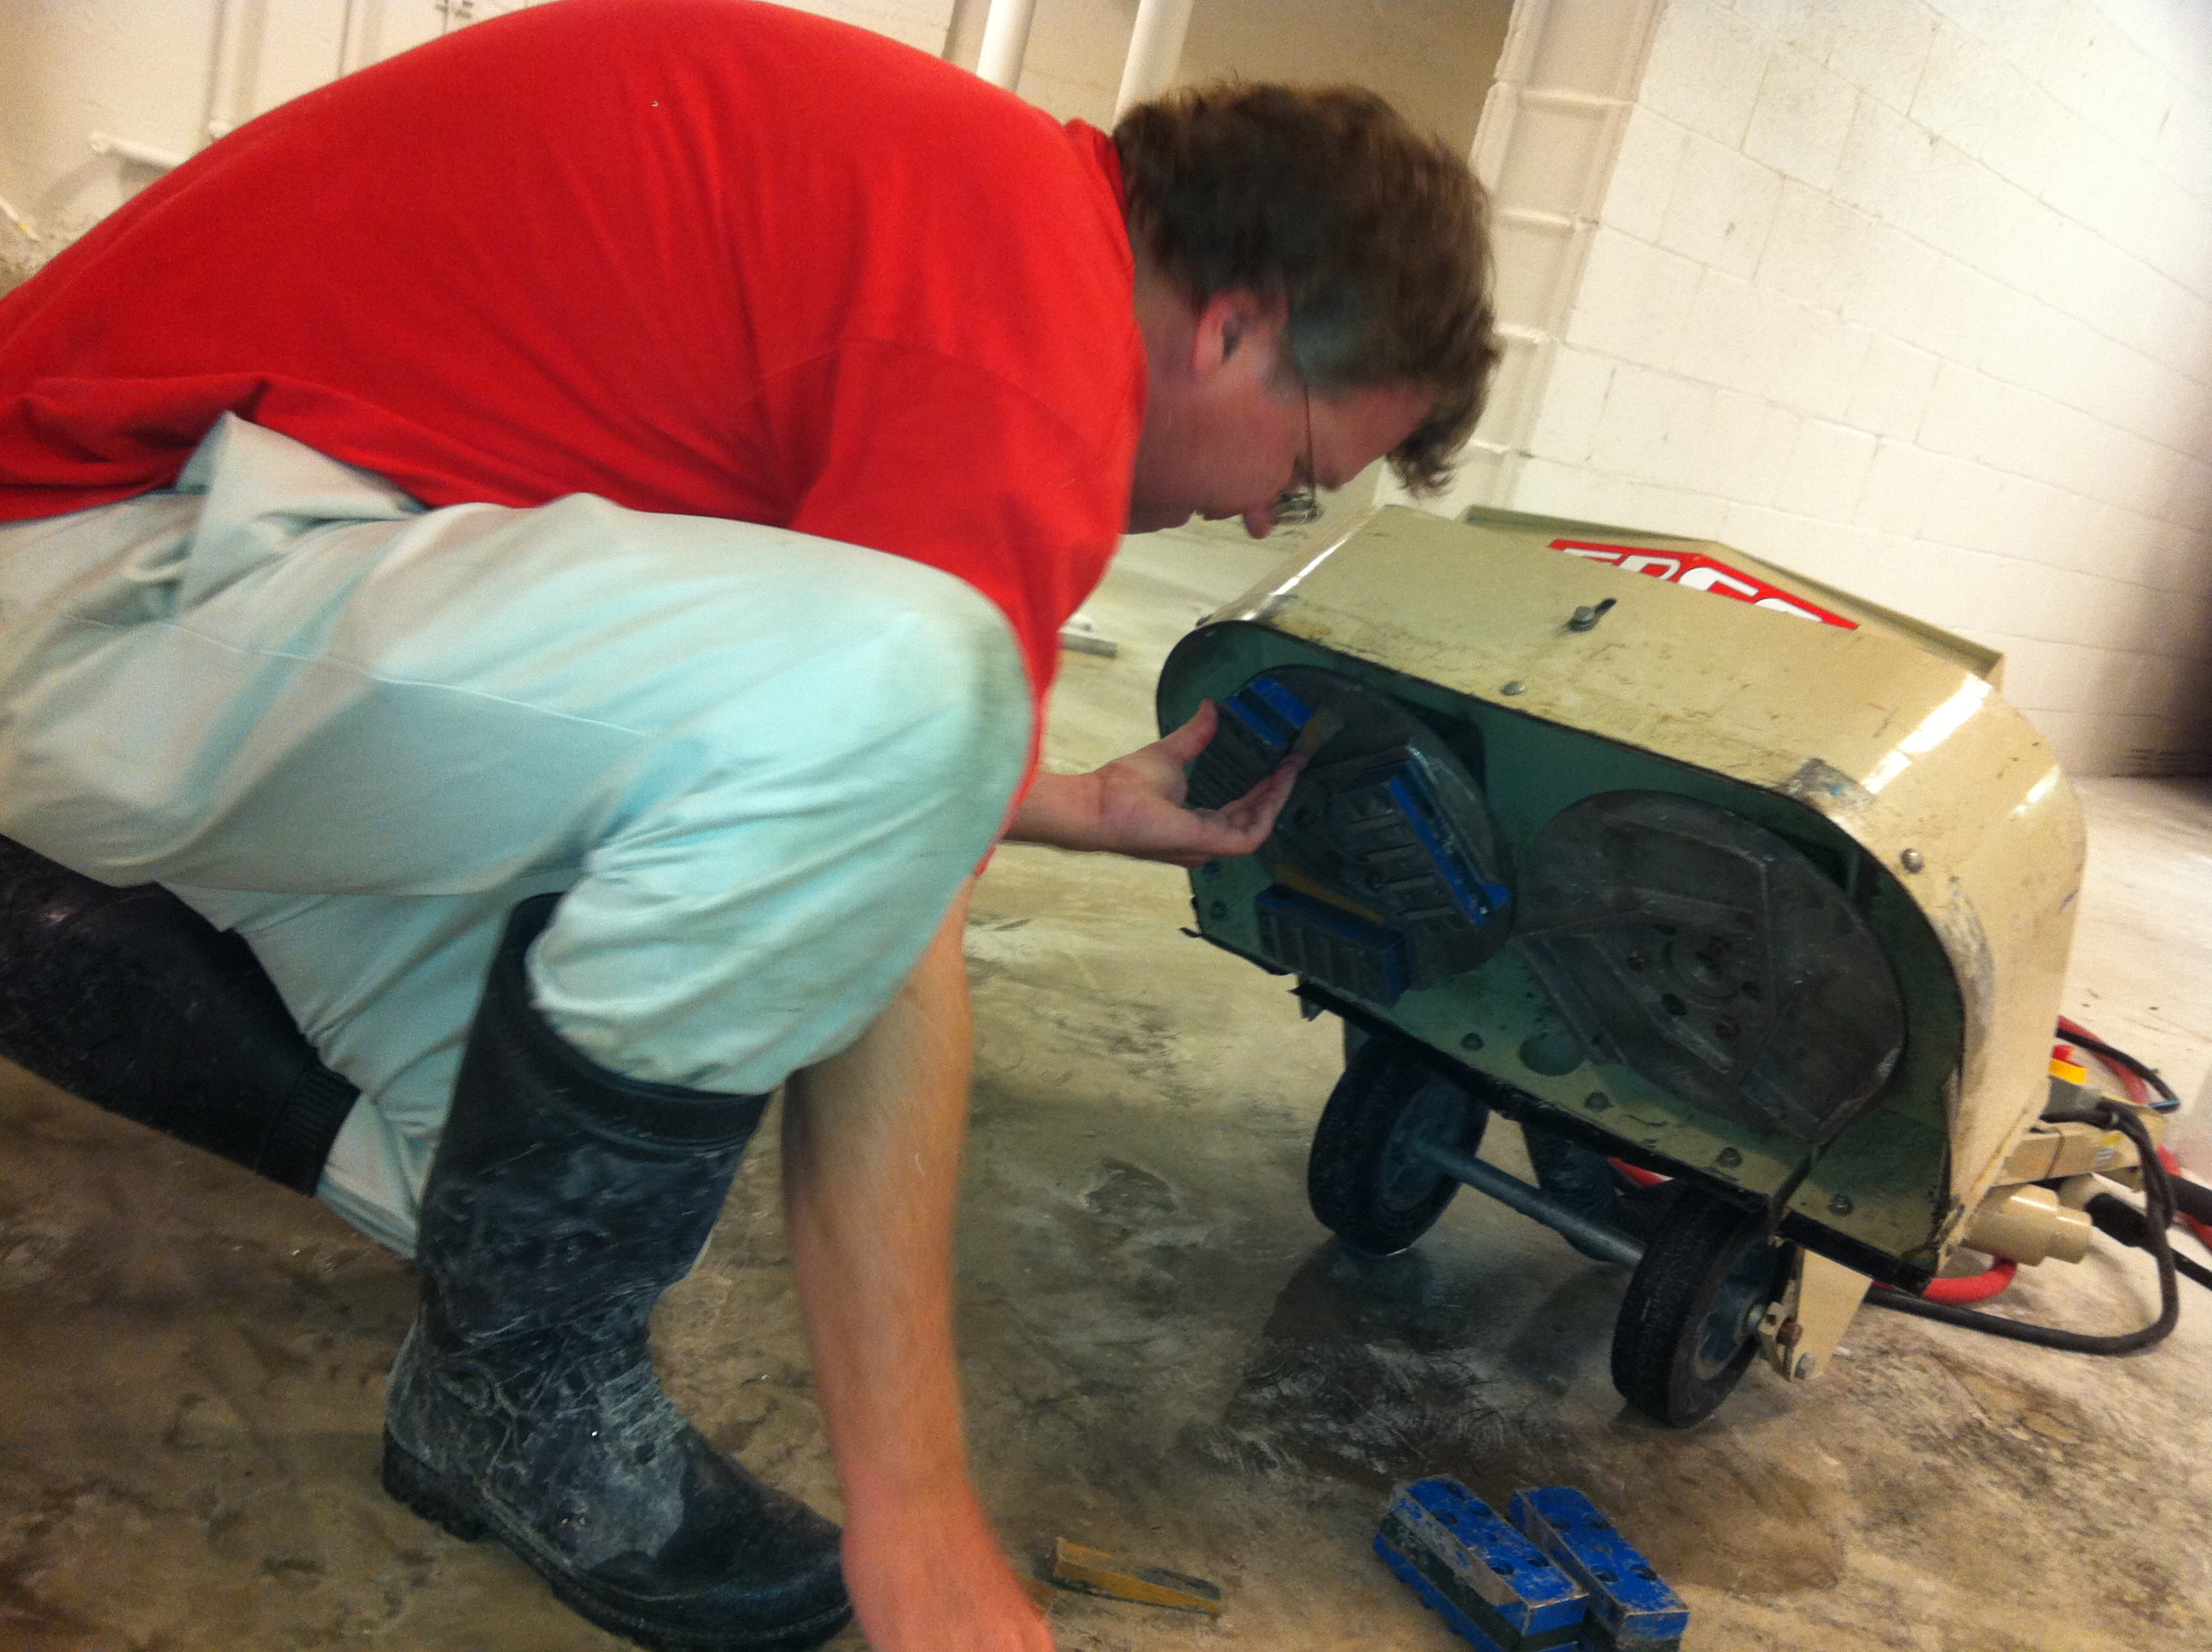
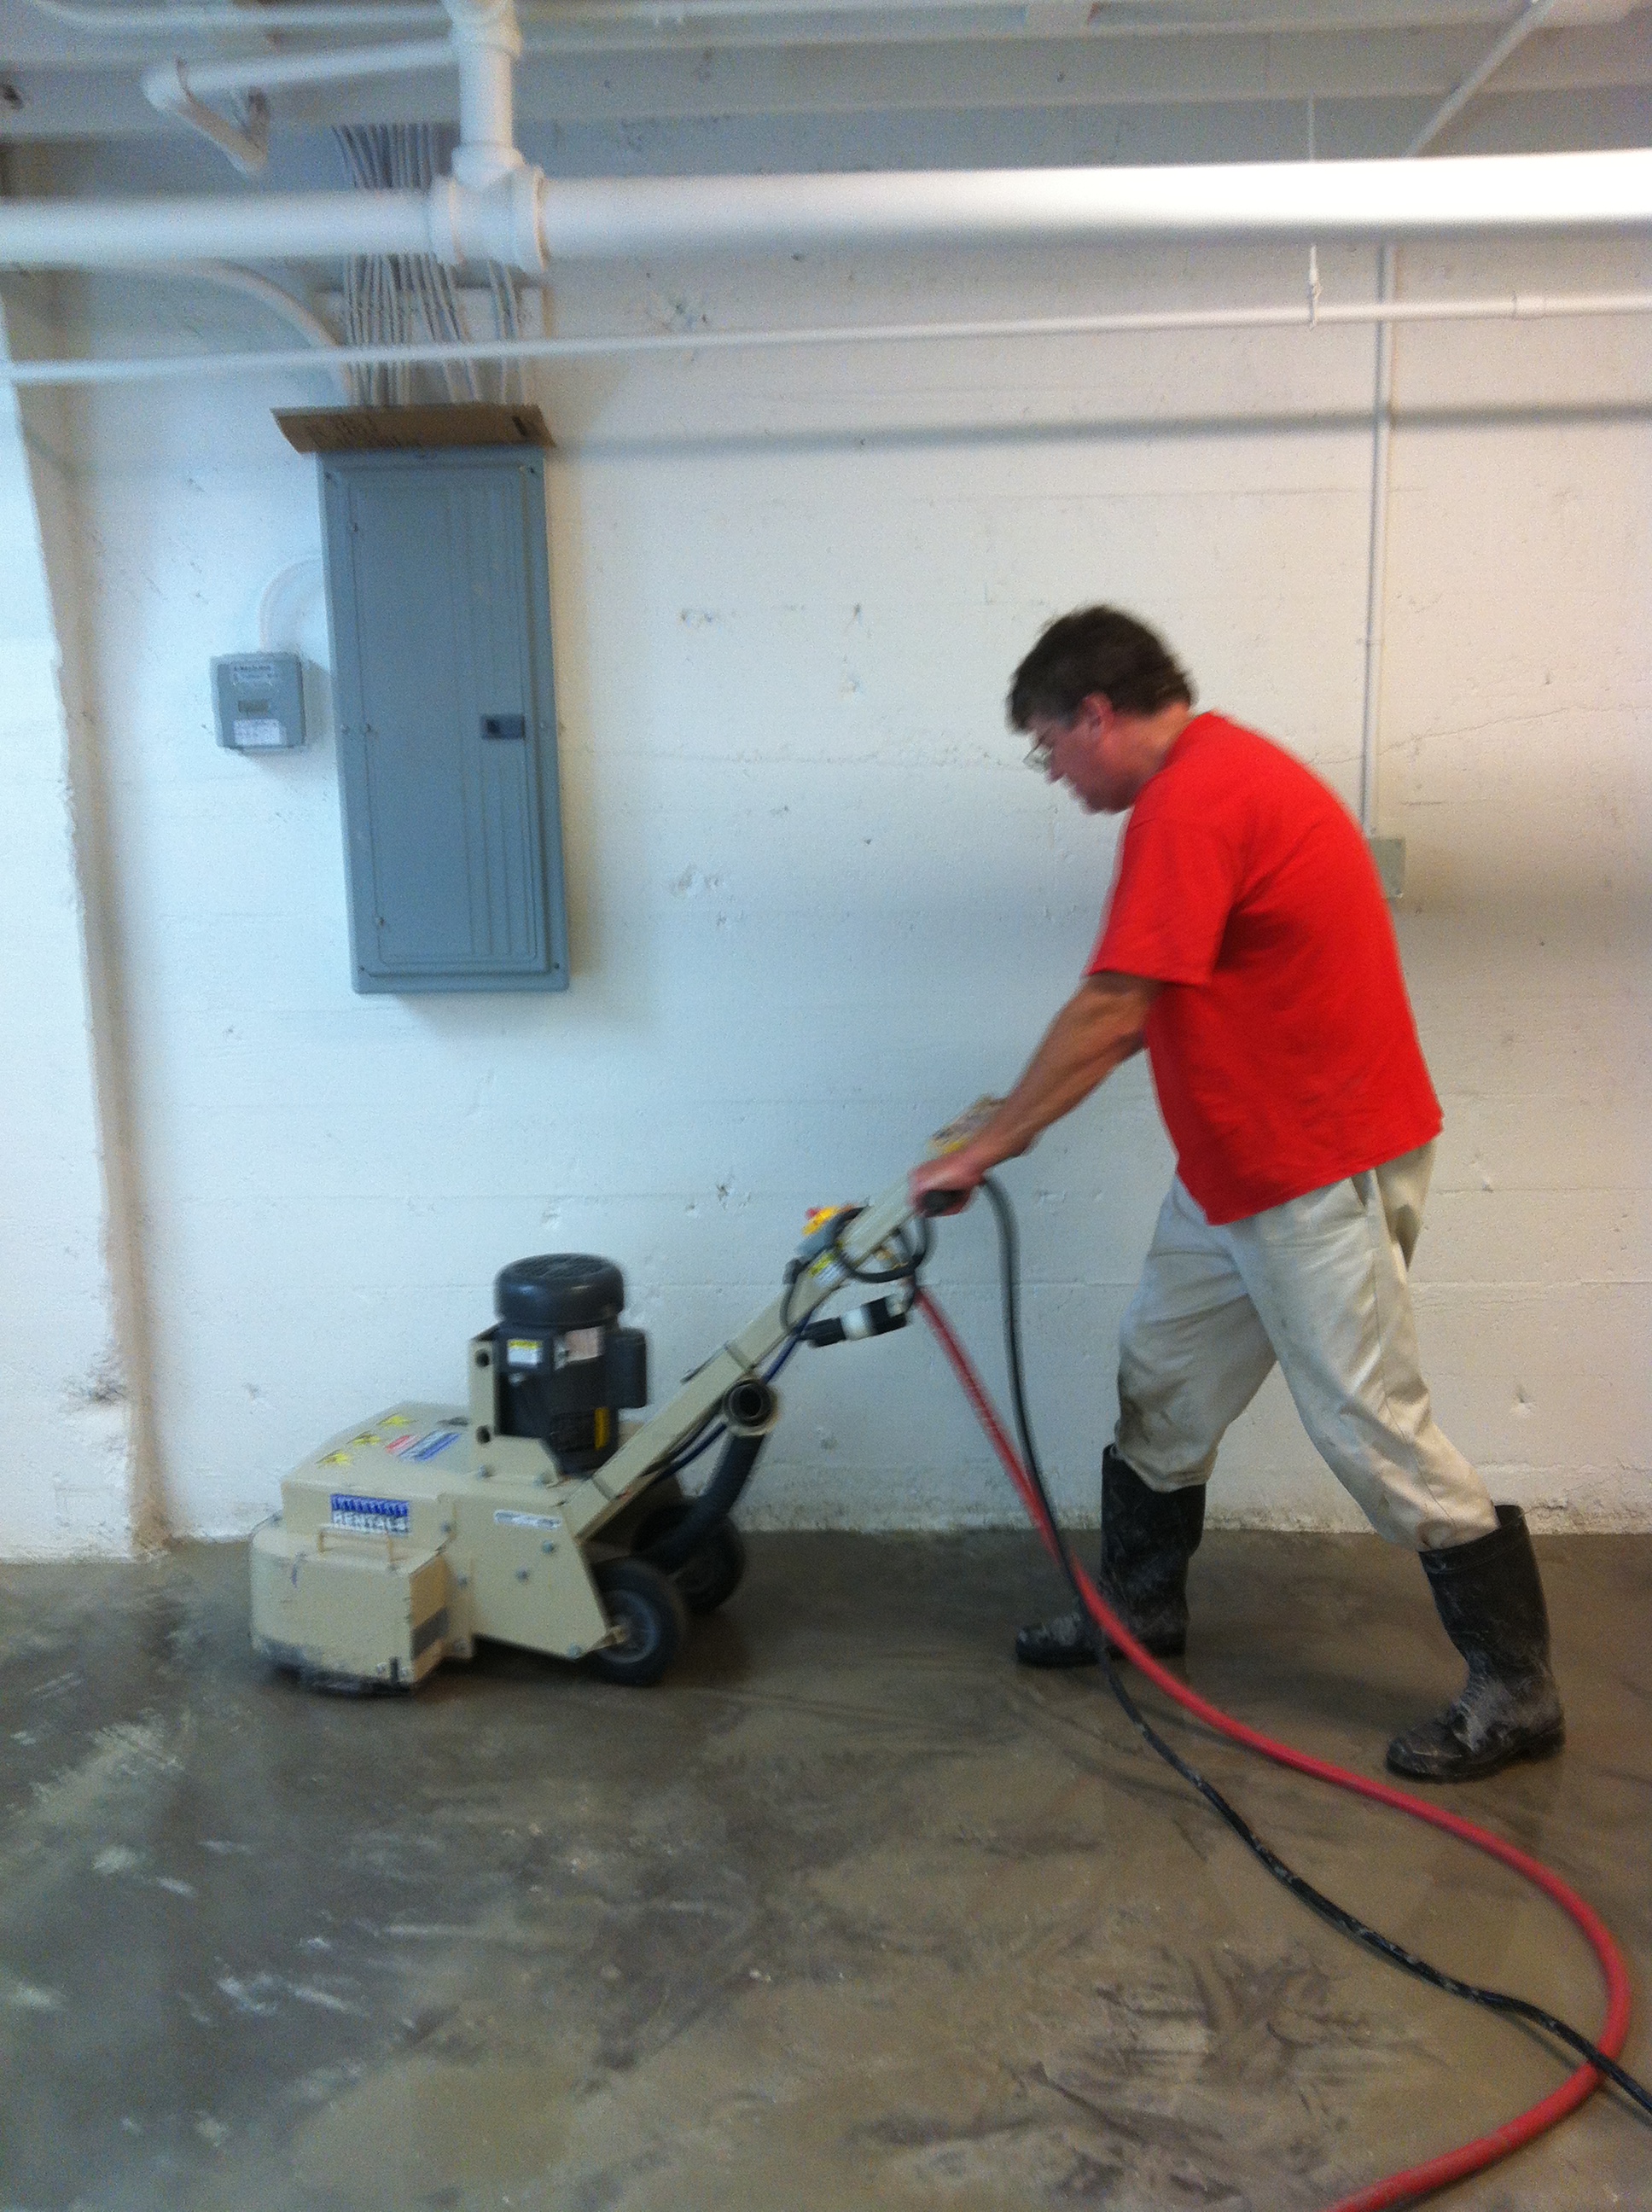
The next step was to cover the floor with an epoxy coating. Sounds easy, right? Wrong! Before you can apply the epoxy, the concrete floor must be roughened using a floor grinder. Our rental grinder had an interesting/annoying/stupid design. The abrasive blocks are held in place through a combination of wood door jam-looking thingies and centrifugal force when the grinders are spinning. It was a challenge just getting the blocks to stay in the grinder before you turned it on. They also tended to fall out if you hit the slightest bump during the grinding process. If you had been around that day you would have been in for a treat — listening to a steady stream of profanity akin to dialogue in the Scarface. Here’s a picture of Grant trying to load the blocks (if you could only hear what he was saying!) and one of the grinder in a rare moment of operation!
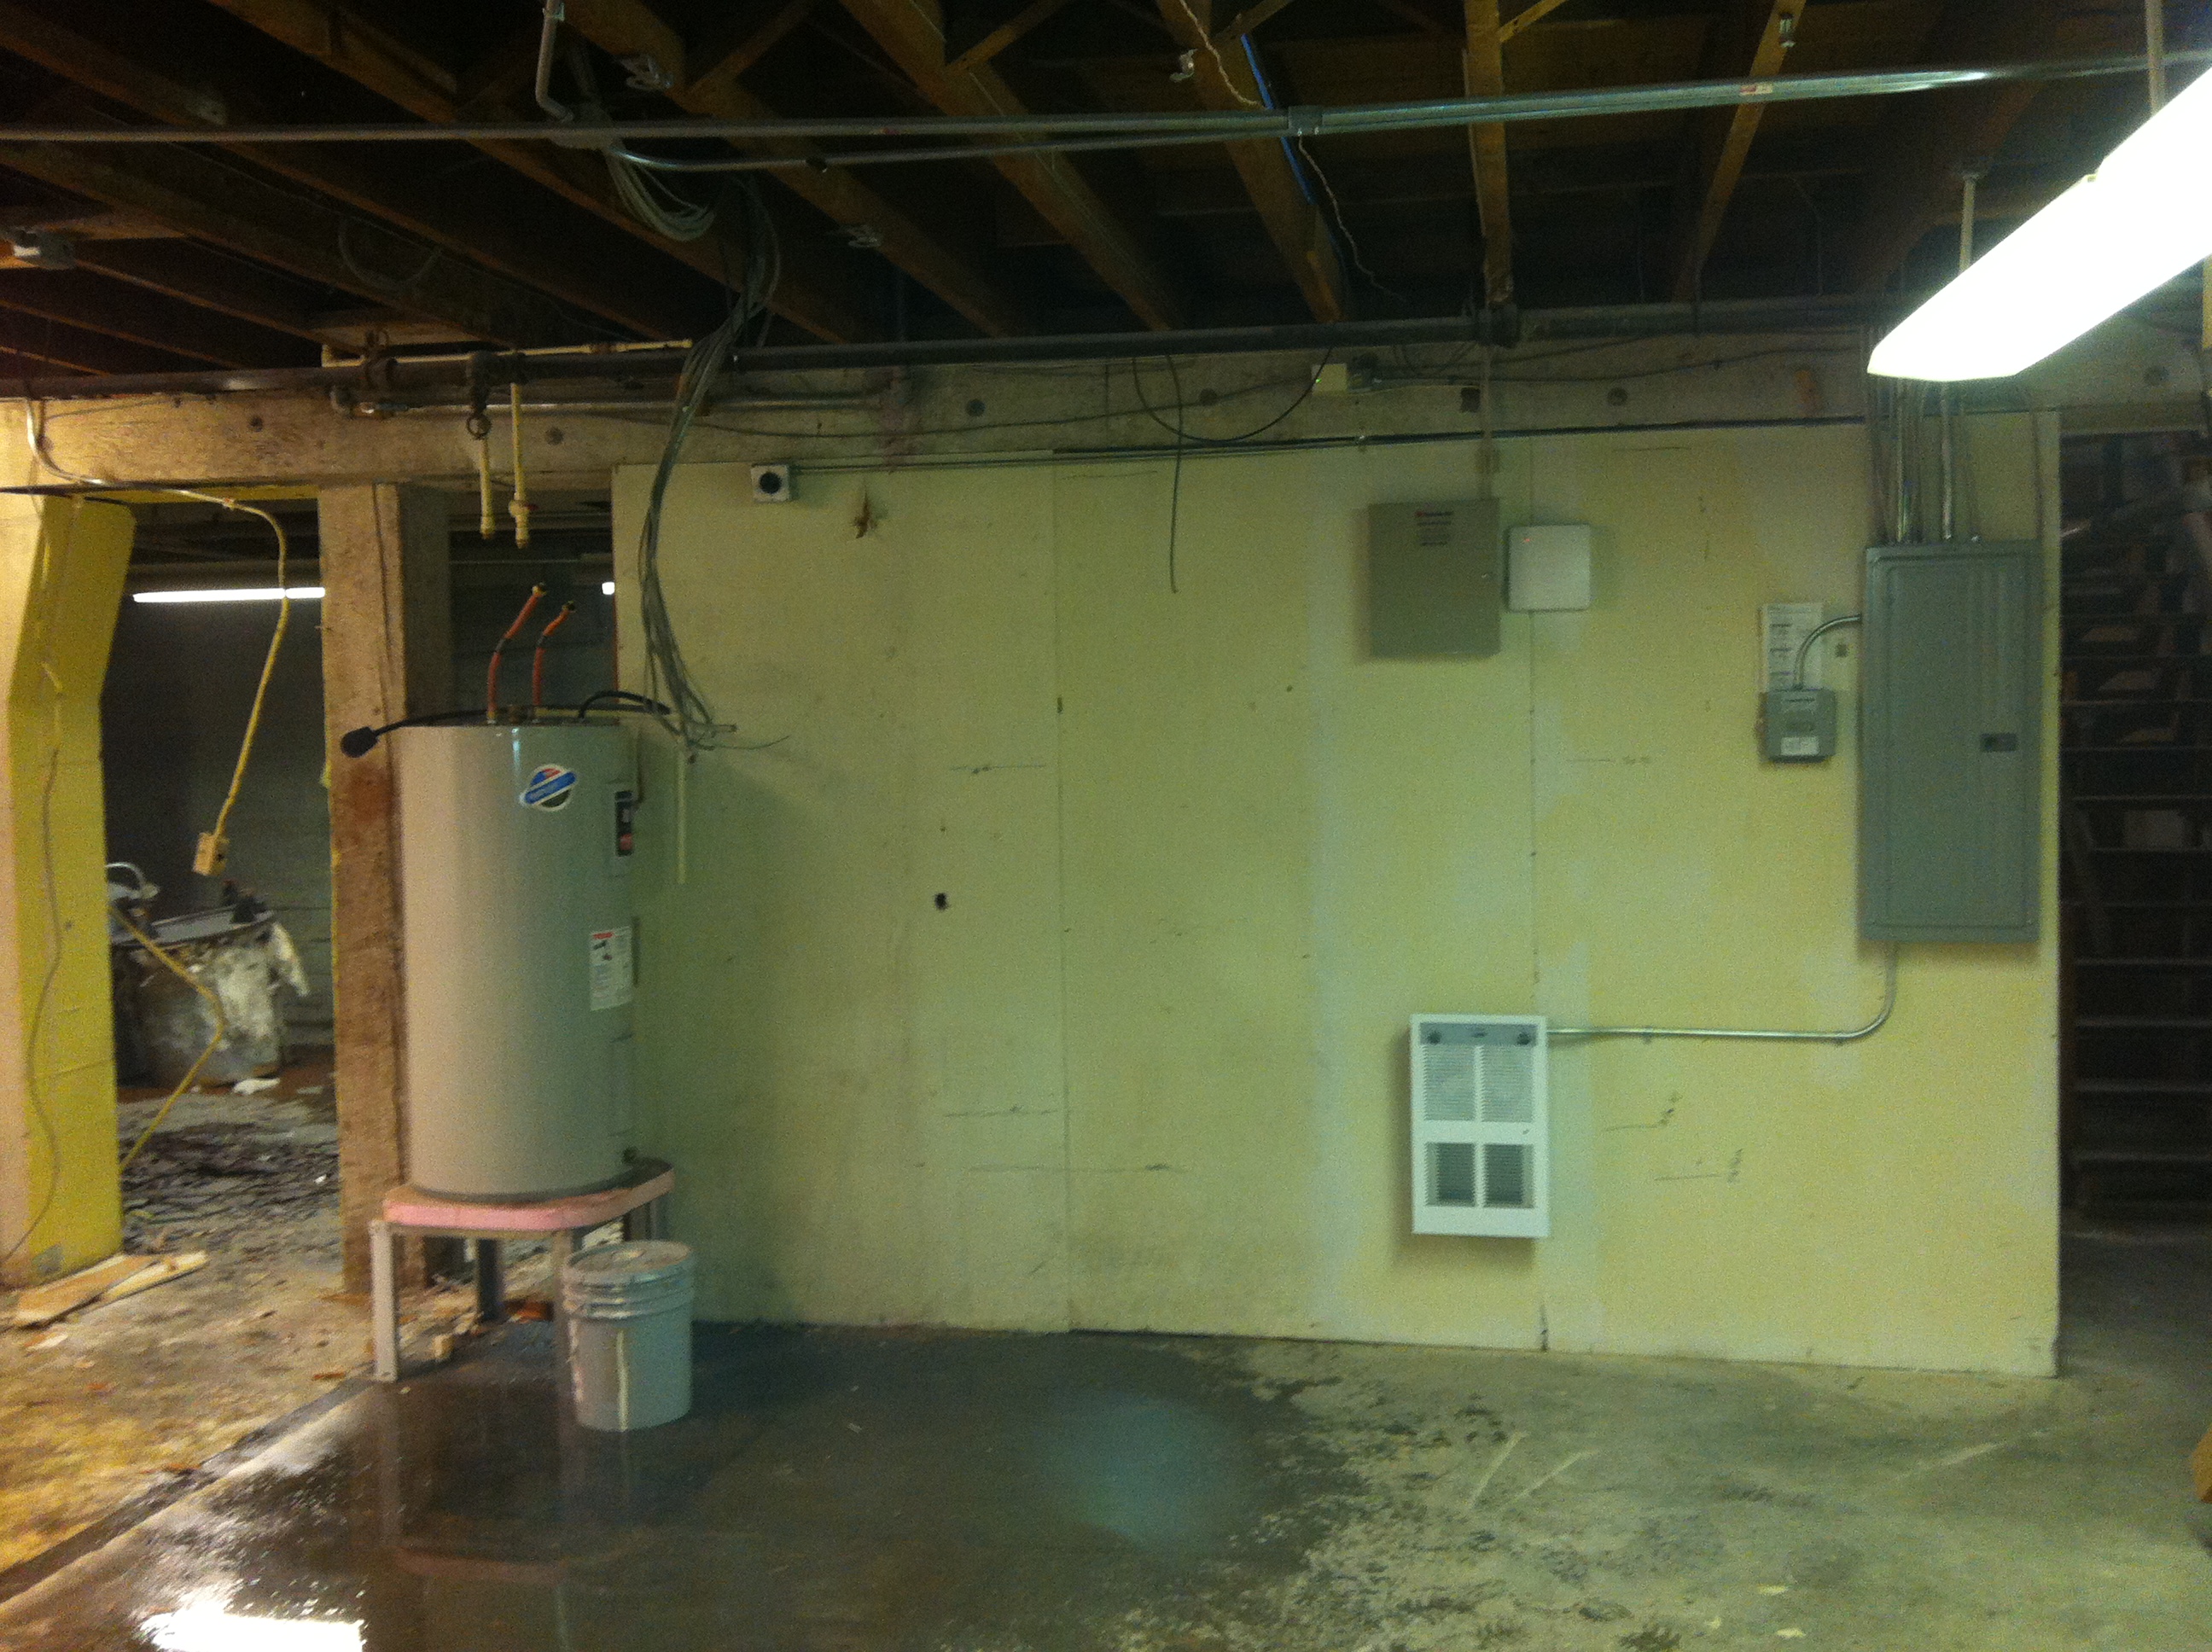
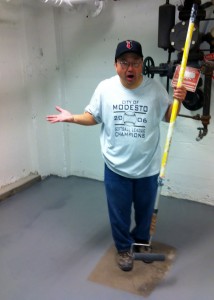
After dealing with the recalcitrant grinder, applying the coating to the floor was relatively painless. You just had to make sure that you didn’t trap yourself in the process! As you can see the floor looks very different with and without the epoxy coating.

Whew! That was a ton of work and we were not even close to being finished. With the painting and floor treatment done, the next step was getting the guts of the brewery, the brewing equipment, into the basement. That glorious day will be covered in my next blog.