 4219eyeball-tacos-and-halloween-boo-board
https://blogs.columbian.com/home-made/eyeball-tacos-and-halloween-boo-board/
/home-made/wp-content/uploads/sites/74/2024/10/IMG_9740.jpg
4219eyeball-tacos-and-halloween-boo-board
https://blogs.columbian.com/home-made/eyeball-tacos-and-halloween-boo-board/
/home-made/wp-content/uploads/sites/74/2024/10/IMG_9740.jpg

The leaves are falling frightening fast, a chill is in the air
Our summer days are gone and past, it’s time to have a scare
So gather goblins, ghouls and friends, let’s have a scary fright
It’s time for fun that never ends, it’s almost Halloween night!
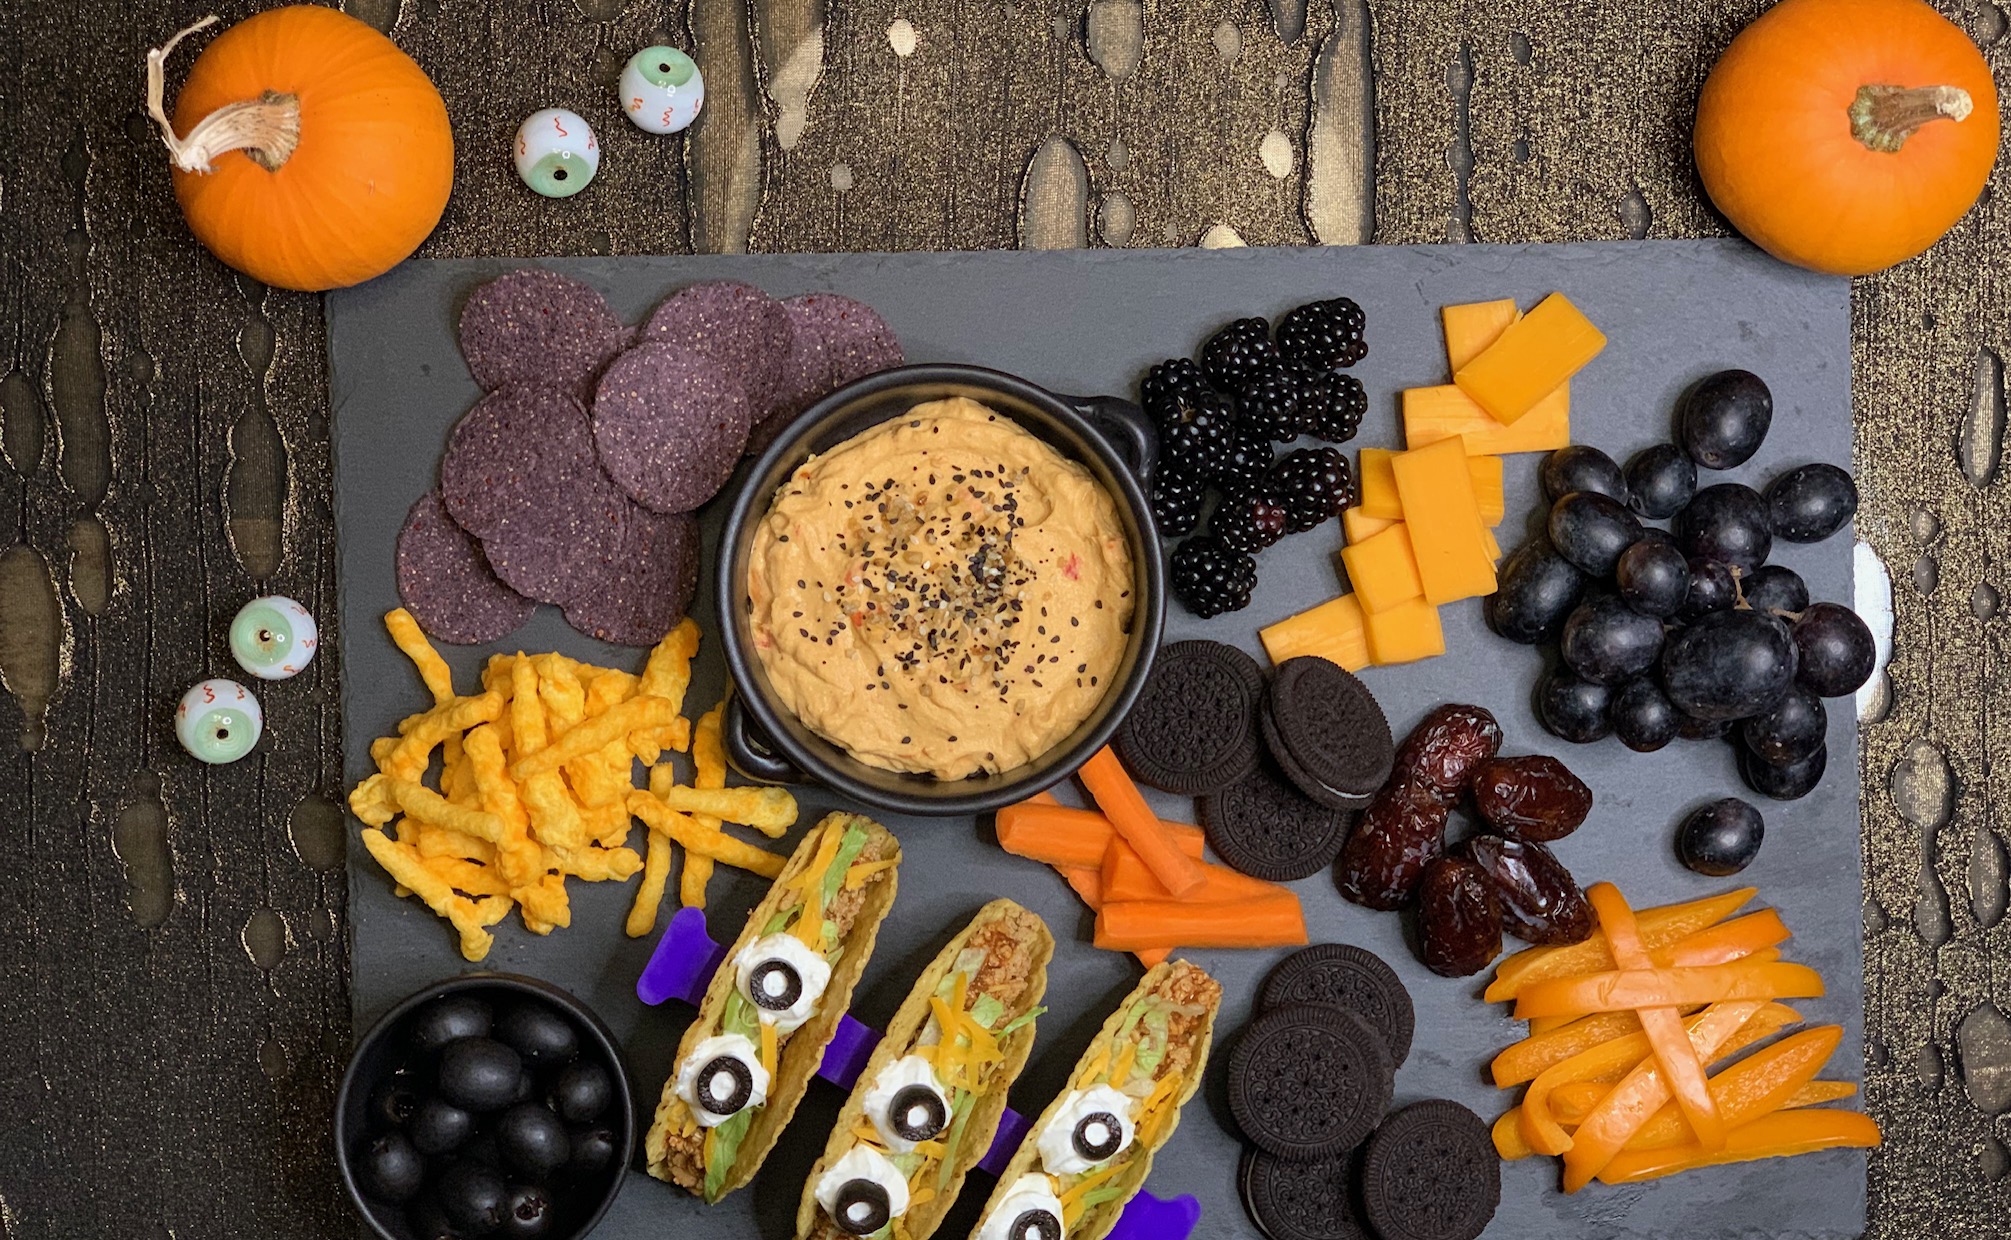
Tempting kids to eat on Halloween can be a little challenging. With all the excitement, not to mention the fact that you’re competing with candy, you’re playing to a tough crowd. You need something fast and filling before you scoot them out the door. While they’re squirming in their costumes, entice them to eat with eerie Eyeball Tacos. Adding eyeballs makes them frightfully fun, plus they’re easy to make and ghoulishly good. It’s a busy night, so use a taco seasoning packet if you like. You’re managing to cook, and eat, at home tonight, so that’s a win. If you want to make some homemade seasoning, use the recipe that follows. I like to do this so I won’t have to worry about preservatives or ingredients I don’t want, plus it lets me adjust the seasoning just the way I like it. If you have food allergies, or are gluten-free, it’s also helpful. Make your own spice blend and you’ll save a bundle: Spice mixes are one of the most overpriced items you’ll find at the store. Just remember to label and date your seasoning before you store it in your pantry. The taco seasoning recipe makes 6 packets, so you’ll have plenty to use in the coming months. You can use your blender or a food processor to help you get finely crumbled beef just like the kind they have at Taco Bell. Pulse your cooked meat lightly, just enough to get loose crumbles, but not so much that you end up with baby food. I used about 1 1/2 tablespoons of the taco seasoning mix and stirred some of the taco sauce into my ground beef at the end. Make the taco meat ahead if it’s easier for you. You can keep it warm in your slow cooker or reheat it closer to dinner time. I tried using a spoon to dollop the sour cream but got the best results using a squeeze tube (like Daisy brand) to make the eyeballs for my tacos. You can slice your own olives if you like, but using a small can of sliced olives saves you the bother. Toss whatever’s left into a salad or two, or use them on a pizza. For a fun activity you can do together, get your kids involved and let them help make a Boo Board. For a haunted holiday theme, keep everything orange and black. Before you do any shopping, do a little brainstorming at home and have everyone think of scary finger foods that are black or orange. Some ideas for your orange foods are carrots, cheddar cheese, orange bell pepper slices, mandarin orange segments, goldfish crackers, baked cheese curls, and orange hummus (roasted red pepper or pumpkin). For the black elements, black tortilla chips, licorice or jelly beans, black olives, black (dark purple) grapes, blackberries, dates, Oreo cookies, and seaweed sheets are some options. Right now is a great time to take stock of your spices. Toss out anything that looks or smells spooky, and make a list of whatever needs replacing. It is no fun to discover an empty bottle of cinnamon just as you are about to stir everything together for your pumpkin pie. Do it now, while things are still calm. When you go to reach for that brand new bottle of ground ginger, you’ll be glad you did. Holiday traditions make memories, so cook up some of your own. Eat, drink and be scary. Be safe and have a frightfully fun Halloween. Eyeball Tacos serves 6-fredmeyer.com
Taco Seasoning makes 6 packets