
Core Conditioning – To Crunch or Not Crunch?

Abdominal crunches and sit-ups still seem to be the go-to exercise when someone wants to strengthen their core but they may not be doing as much as we think to develop the strong torso we need to play sports, walk, lift or perform other daily activities.
So the question becomes Core Conditioning – To Crunch or Not Crunch?
The problem is in the movement. In an abdominal crunch, we perform technically speaking, a forward flexion of the spine. But a lot of us spend the entire day in a forward flexed position. We sit forward at desks, sit forward at a computer, sit flexed to watch TV, sit flexed to drive, sit flexed at a table to eat… No wonder the typical posture of someone who ages is rounded forward in a “hunch” back posture. Why would we want to strengthen our body in a direction that we really should be trying to move out of? It makes sense that we’d want to try to counteract and minimize these forward forces.
Strengthening your core is critical for optimal health. If your core is strong, that strength radiates out to your extremities and you will be better able to stabilize and align your body, absorb and brace for any impact and move your body more efficiently and with better mechanics. It’s important to mention that your core is not only your abs – but also includes your back and hips so to strengthen your core effectively you need to work the front, back and sides.
We’re not suggesting that you shouldn’t be doing any abdominal crunches. But you should compliment crunch type exercises with more functional and appropriate movements such as the following exercises 2-3x/week. Keep this in mind – there is no perfect abdominal exercise. A variety of different movements and exercises is best.
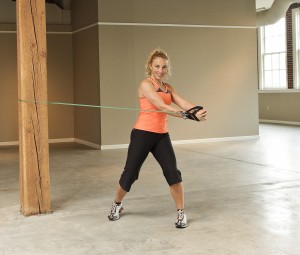 Tubing Trunk Rotation
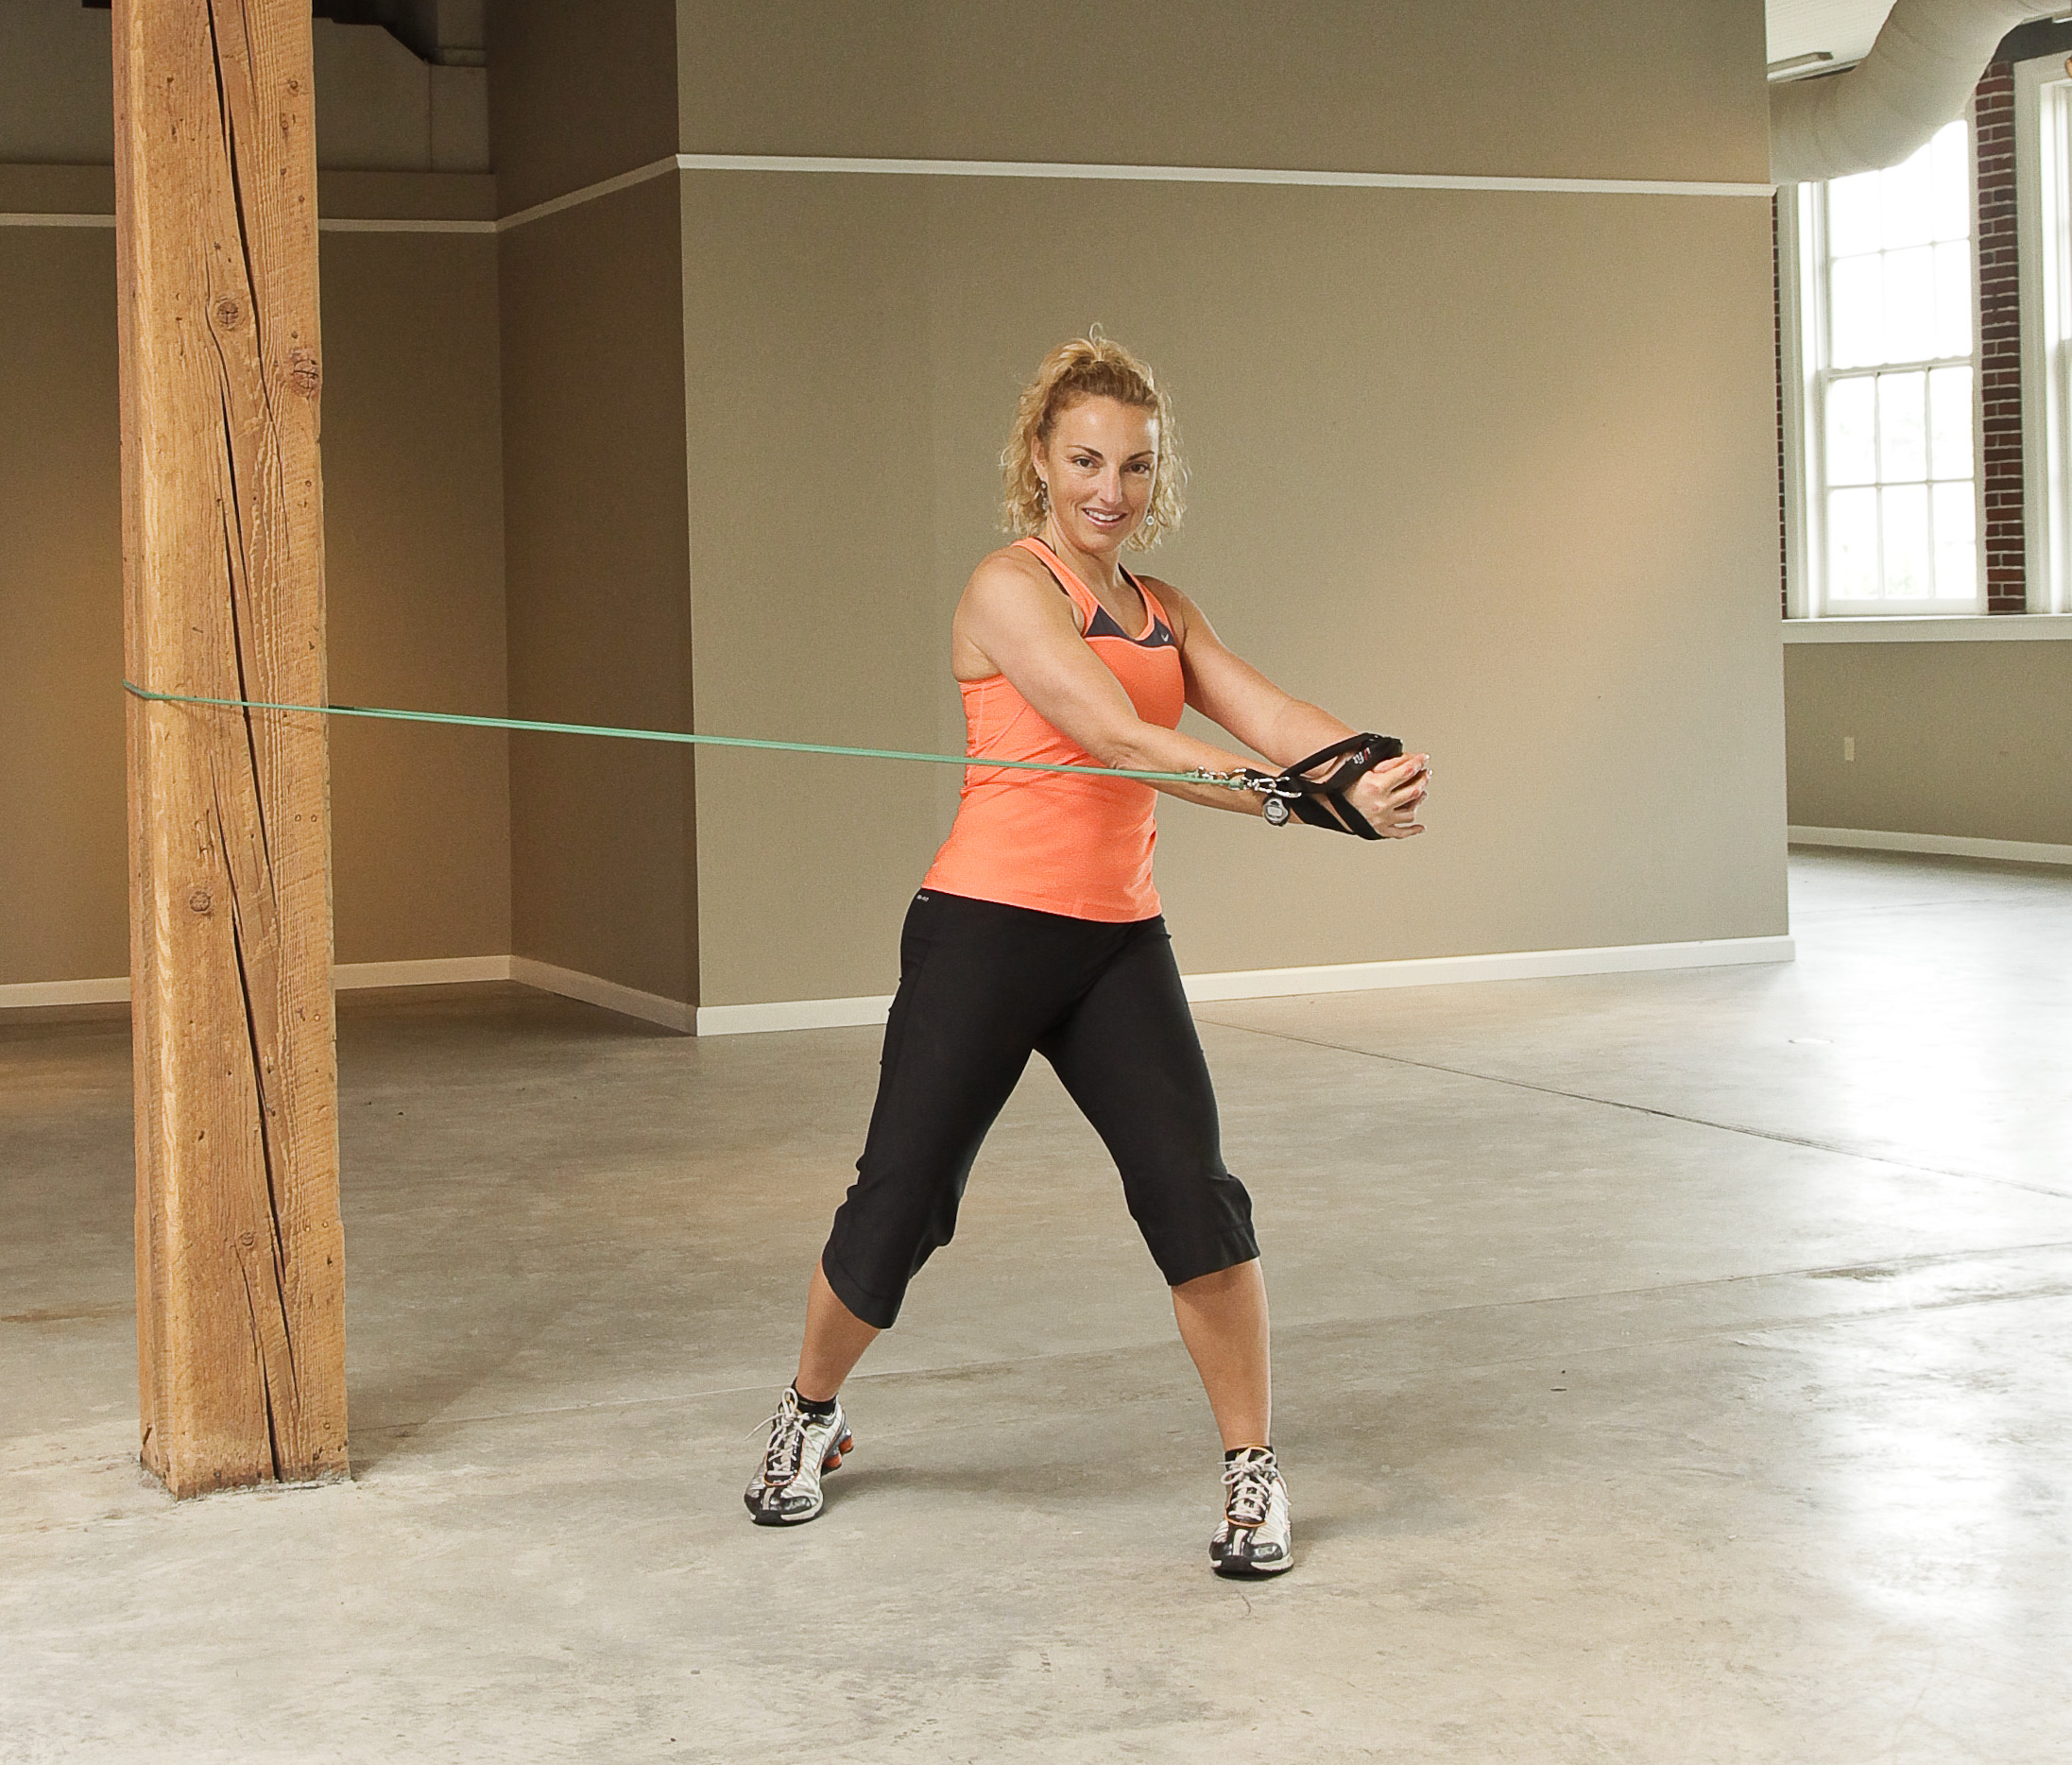
Anchor an exercise tube around a pole at about mid-body height. Stand sideways to the pole holding the tube in both hands standing far enough so there is tension on the tube. Keep your abdominals contracted, maintain good posture and slowly pull the tube across your body.
Perform 8-20 reps each side.
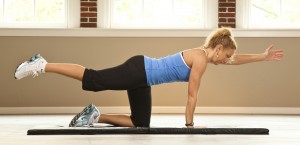 Tri-Pod Training
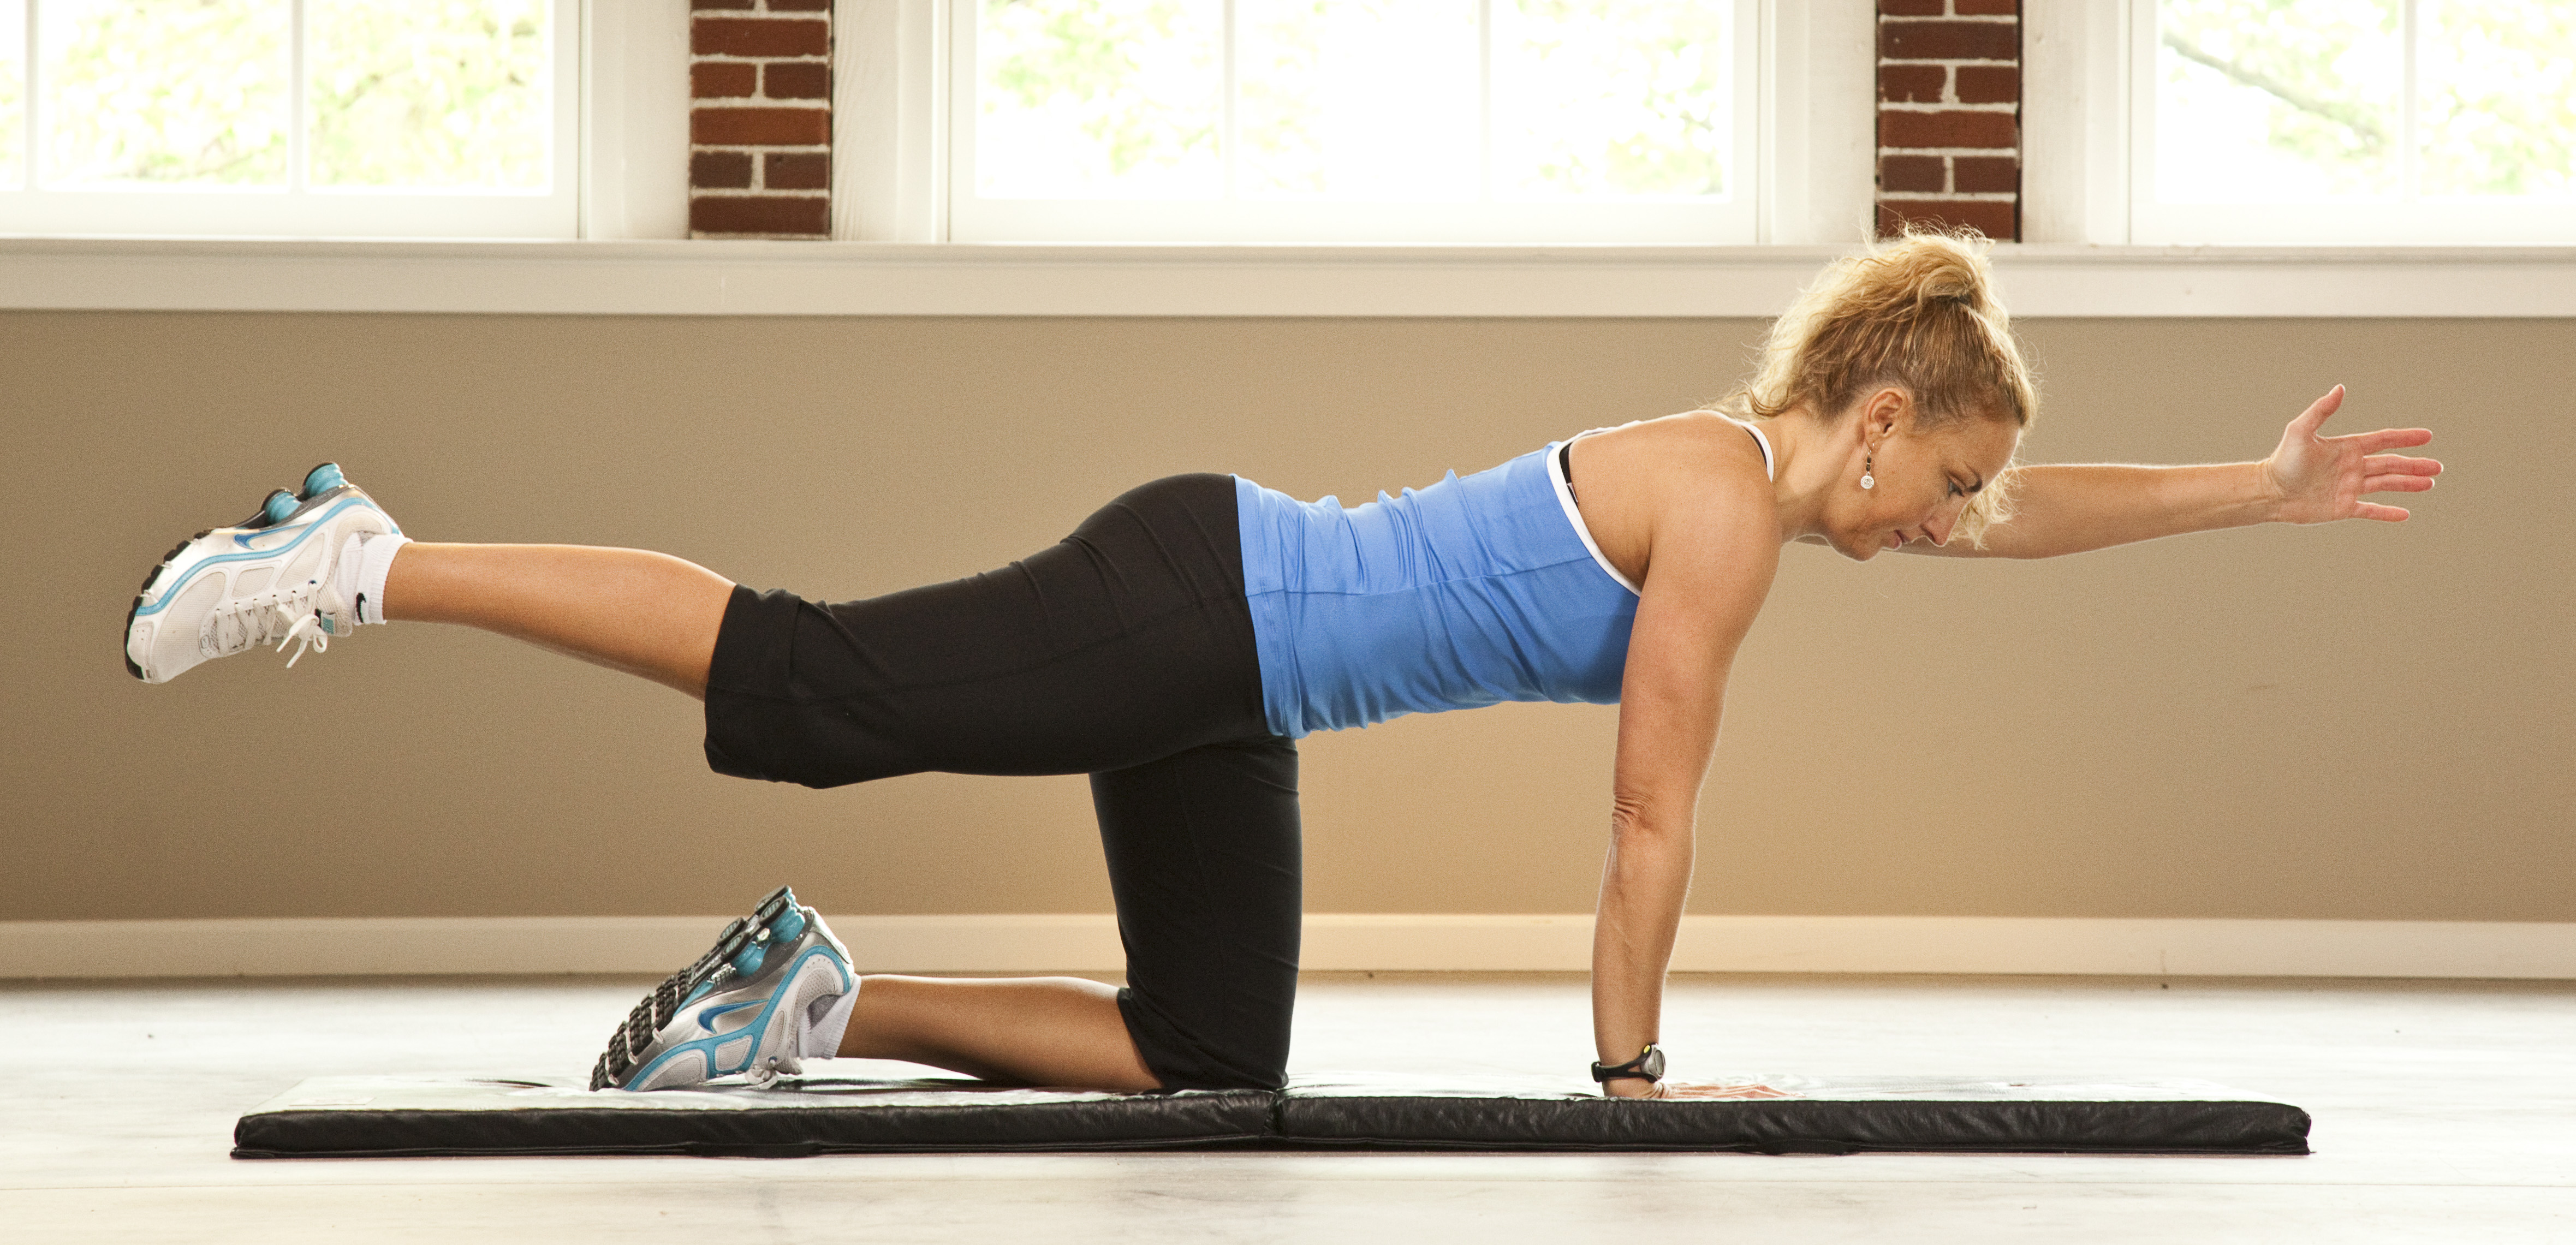
Start by getting down onto your hands and knees. Position your arms directly under your shoulders and your knees directly underneath your hips. Keep your abdominals contracted inwards and your spine completely stabilized. Your back should be completely neutral and it should feel like a straight line from your tailbone to the top of your head. Start the exercise by lifting one arm from the shoulder and reaching it out in front of you. Simultaneously, lift the opposite leg. You should attempt to really stretch the arm and the leg outwards and lift upwards while maintaining the abdominal contraction and spine stabilization. Think more about reaching the arm and leg rather than lifting so high that you have to arch your back. While you lift onto one leg, be sure to not shift all your body weight to the side that is supporting you. Try to stay completely stabilized.
Do this 8-10x each side.
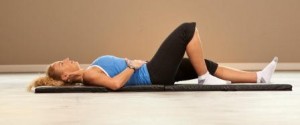 Heel Slides

- Take your shoes off. Lie on your back with your feet on the floor and both legs bent. Place your hands on your abdominals and contract them so that your abdominal cavity is concave (pulled inwards). Stabilize your spine throughout the entire movement. Start by slowly sliding one foot out over the floor until the leg is almost straight. Then slowly slide it back into the starting position. Then attempt the same movement with the opposite leg. Throughout the entire exercise, your two key reference points are that your abdominals must stay pulled inwards and your vertebrae (back) must not move. Your back should be completely stabilized and no arching or flexing of the spine should occur at any time.
- If this exercise becomes easy, intensify the movement by sliding one leg out while the other leg is sliding in so both legs are moving simultaneously.
- If this becomes easy, intensify the movement by sliding both legs out and in at the same time.
Perform any variation of these exercises for 1.5 minutes without stopping.
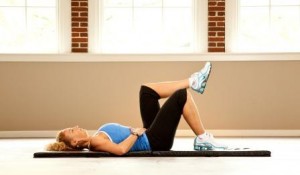 Abdominal Alternating Leg Lifts

- Lie on your back with your knees bent and feet flat on the floor. Tighten your abdominal muscles and ensure your low back is in a neutral stabilized position.There should be no major space between your low back and the floor. Hold this position throughout the exercise as you slowly lift one leg off the floor a few inches. Be sure that the movement of the leg occurs from the hip joint, not the knee joint. Perform 8-20 reps each leg. Be sure that your back is braced throughout the exercise so that there is no movement in the spine.
- Once this becomes easy, do the same exercise with your legs straighter.
- If you become really good, you can try it with both legs at the same time. But remember, if you try the advanced exercise and your stomach muscles are pushing out and your back is arching, you’re not working the right muscles and may be placing yourself at risk for injury.
 Side-Lying Plank

Lie on your side while propping yourself up on one elbow with elbow positioned right under your shoulder. Keep your body straight and aligned. Slowly lift your hips off the floor so that your body weight is now supported on your elbow and your knees (less advanced) or your toes (more advanced). Keep your abdominals contracted throughout the entire exercise and maintain good posture.
Hold for 5 seconds and do this 8-15x on each side.
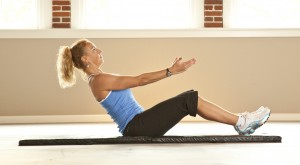 V-Sits

Sit on the floor with your knees bent and your feet on the floor. Keep your abdominals contracted, your chest lifted up and out and your shoulders back. Maintain this position and slowly recline backwards a few inches.
Hold for 5 seconds and release. Repeat this 8-20x.
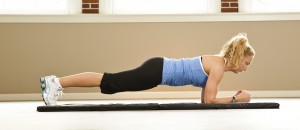 Plank
Plank

Lie on your stomach. Position your elbows under your shoulders. Contract your abdominal muscles and then slowly lift your body onto your toes and your elbows. Keep your back straight and shoulder blades pulled together. Remember to breathe.
Hold this position for 30-120 seconds.
*Note: Feel free to start on knees and elbows and as you get stronger, slowly progress to your toes.
Sherri McMillan, M.Sc. has been inspiring the world to adopt a fitness lifestyle for over 25 years and has received numerous industry awards including International Personal Trainer and Fitness Presenter of the Year. She is the author of five books including “Go For Fit – the Winning Way to Fat Loss” and “Fit over Forty” and is the featured presenter in various fitness DVDs. She is the owner of Northwest Personal Training in downtown Vancouver and can be seen running, hiking or cycling with her two children, Brianna and Jackson. She can be reached at www.nwPersonalTraining.com or www.ShapeupwithSherri.com
Note: As an avid Columbian reader, you can redeem a 2 week pass at her world-class training studio to help get you started. Contact 360.574.7292 for more details.
Sherri McMillan
Sherri McMillan, holds a master's degree in exercise physiology and has been inspiring the world to adopt a fitness lifestyle for more than 33 years. She has received numerous industry awards including 2010 CanFitPro International Presenter of the Year, 2006 IDEA Fitness Director of the Year, 1998 IDEA Personal Trainer of the Year, 1998 CanFitPro Fitness Presenter of the Year and 2005/2006 ACE Fitness Educator of the Year - Runner up. She is a fitness trainer, fitness columnist for various magazines and newspapers, author of five books and manuals including "Go For Fit - the Winning Way to Fat Loss" and "Fit over Forty" and the featured presenter in various fitness DVDs. She has presented hundreds of workshops to thousands of fitness leaders throughout Canada, Australia, Mexico, Jamaica, New Zealand, Germany, England, Spain, South America, Asia and the U.S. She is the owner of Northwest Personal Training in downtown Vancouver, the founder of WHY Racing Events & WHY Community, participates in various community fundraisers and can be found running, biking, or hiking around the community. Find more information at nwpersonaltraining.com.